Category Archives: Uncategorized
Project 63 – Vintage Air update
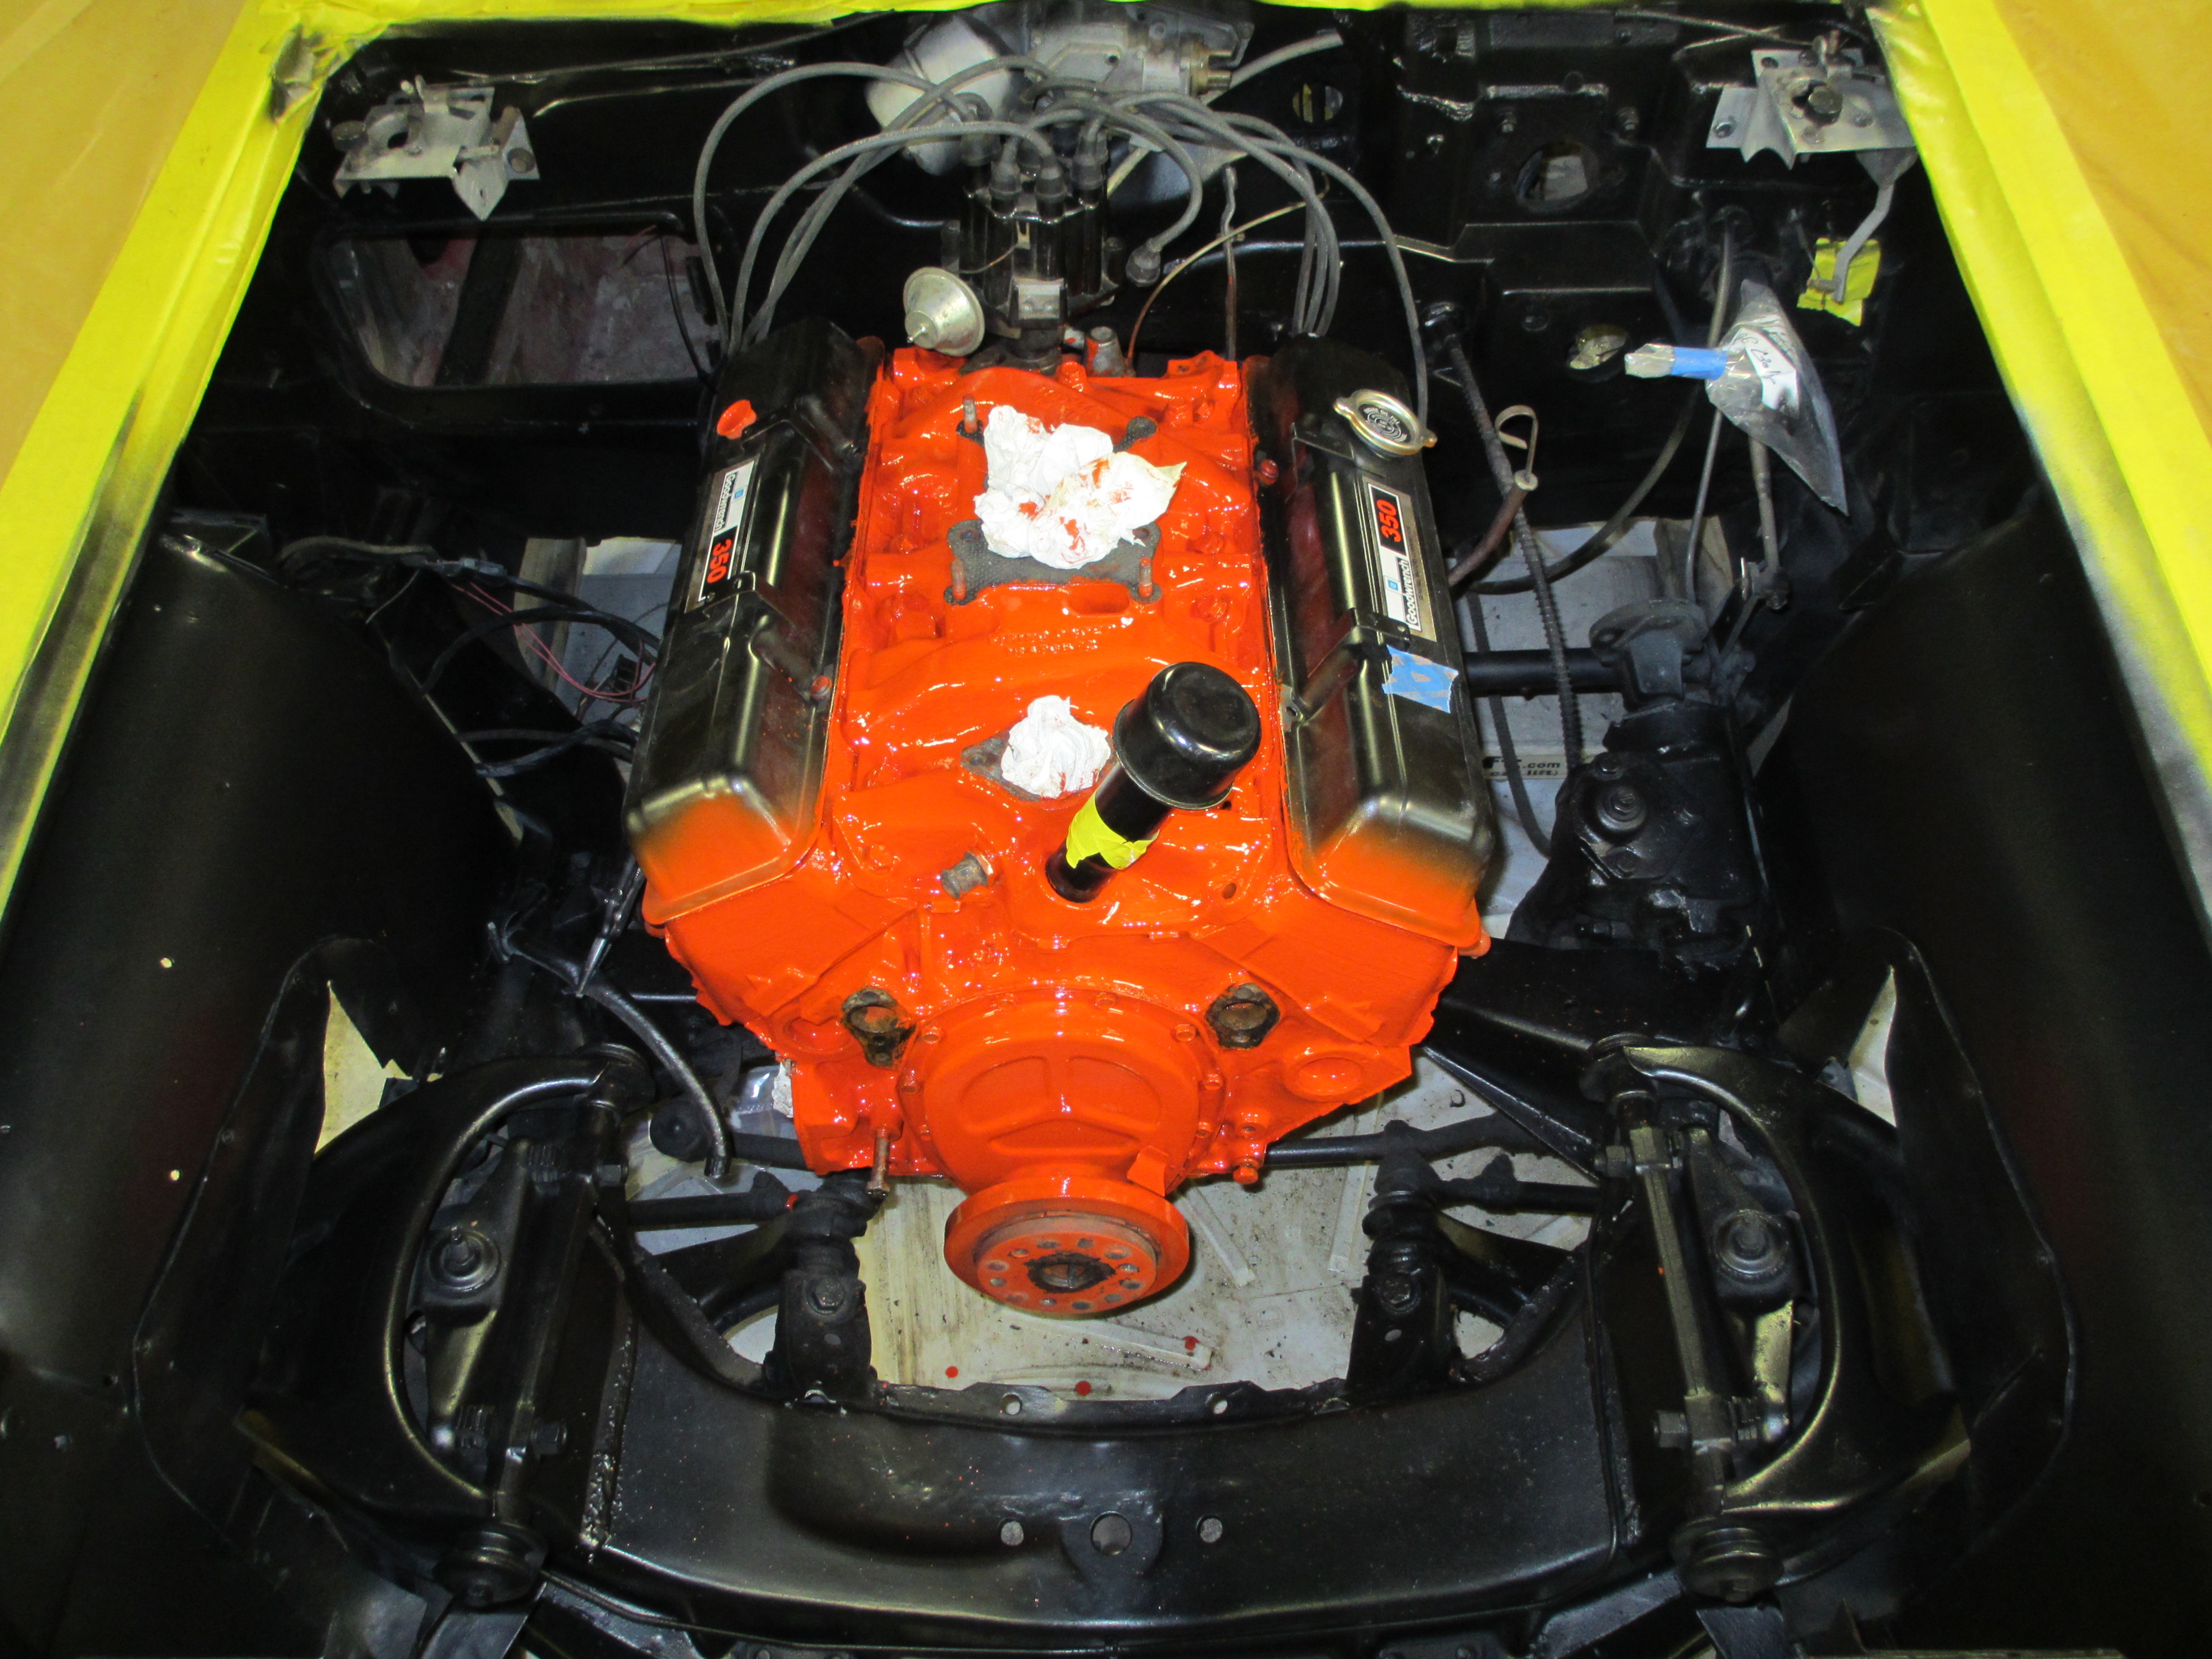
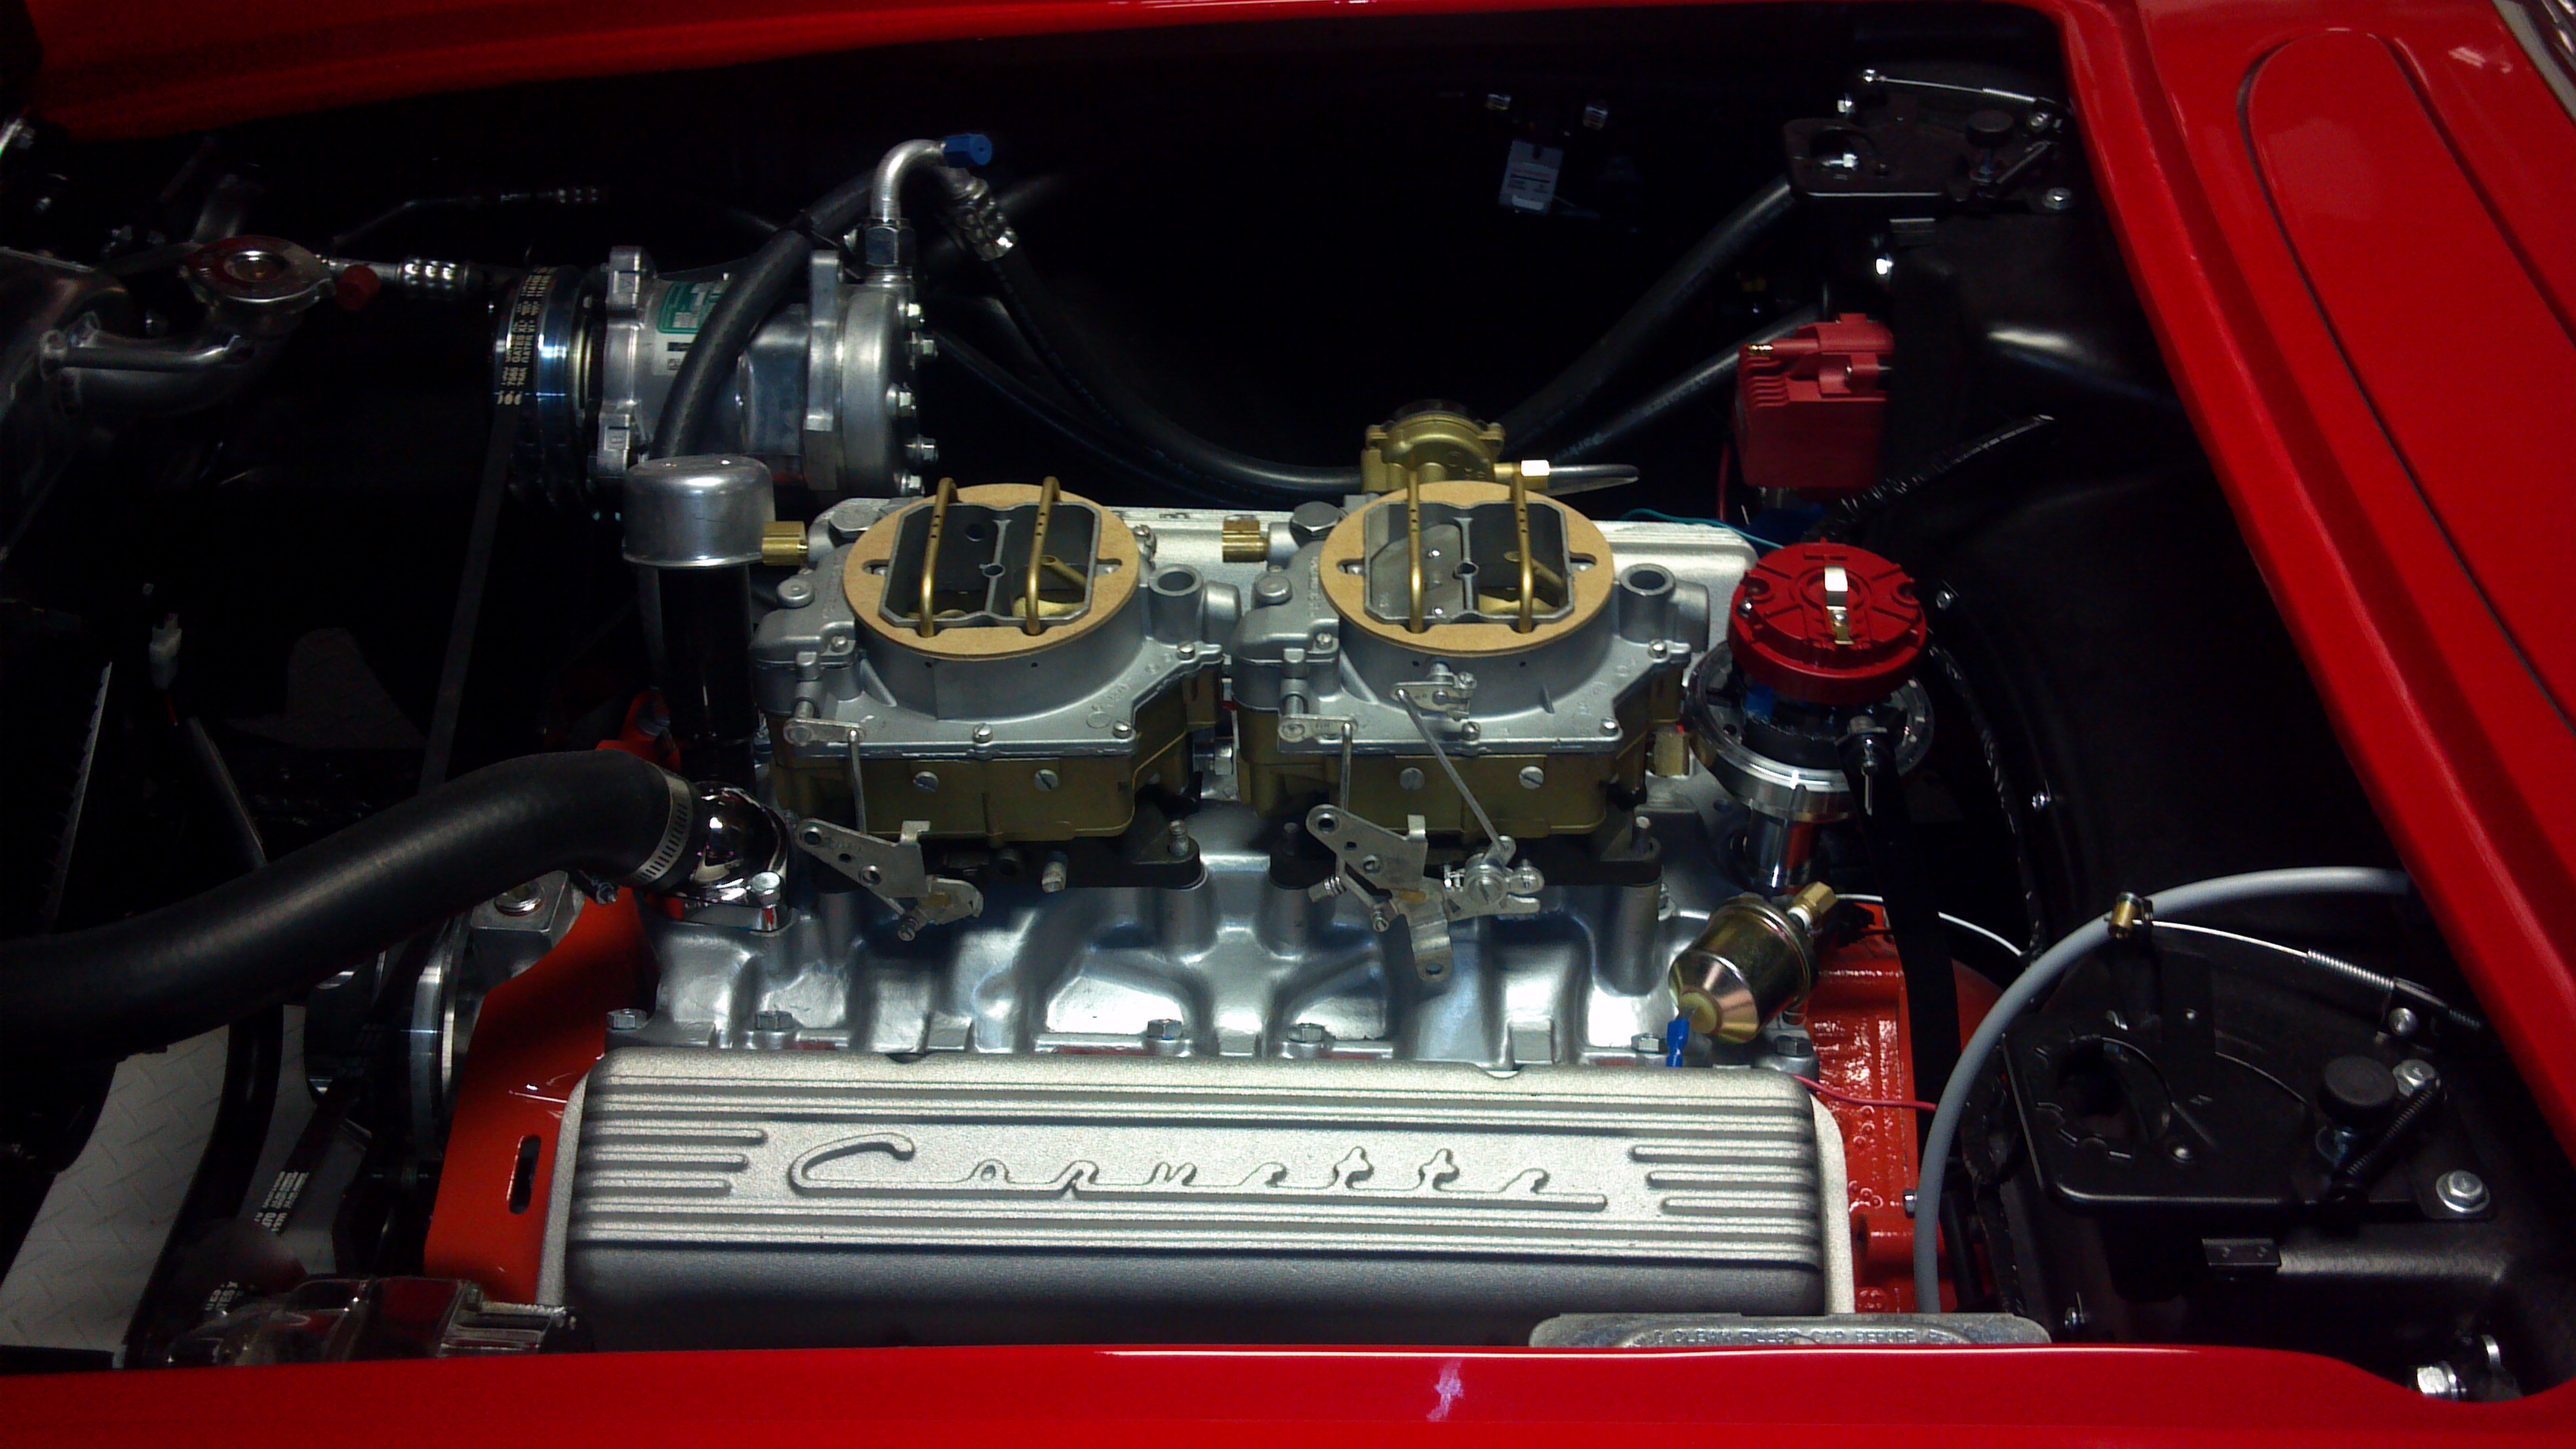
First we removed everything form the engine bay accept the engine and we repainted the engine and engine bay then we re-installed the new brake booster, master and radiator.
We are making good progress on the Vintage Air Gen IV installation. I completed moving the Alt to the driver side using Alan Grove adapters and a wiring harness. We installed the under dash set up, the electronic dash controls, under dash vents, duct work and compressor. We also completed routing and terminating the heater hoses.
There were several recommendations to not route the hoses through the fresh air vent but I decided to go ahead to make the look a little cleaner. I am not sure I am happy with the drivers side vent placement so at some point I may end up getting the later model vent.
Unfortunately 3 of my 4 condenser mounting brackets were missing so I have not been able to complete the condenser install yet. We still have the electric hook ups to complete but it is getting close now.
We also completed installing the clock and new (old look) am/fm radio. Now to insulate the floor and start the carpet and interior installation 🙂


[nggallery id=78]
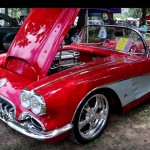
Project 63 – 5/5 Progress Update
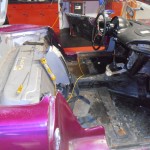
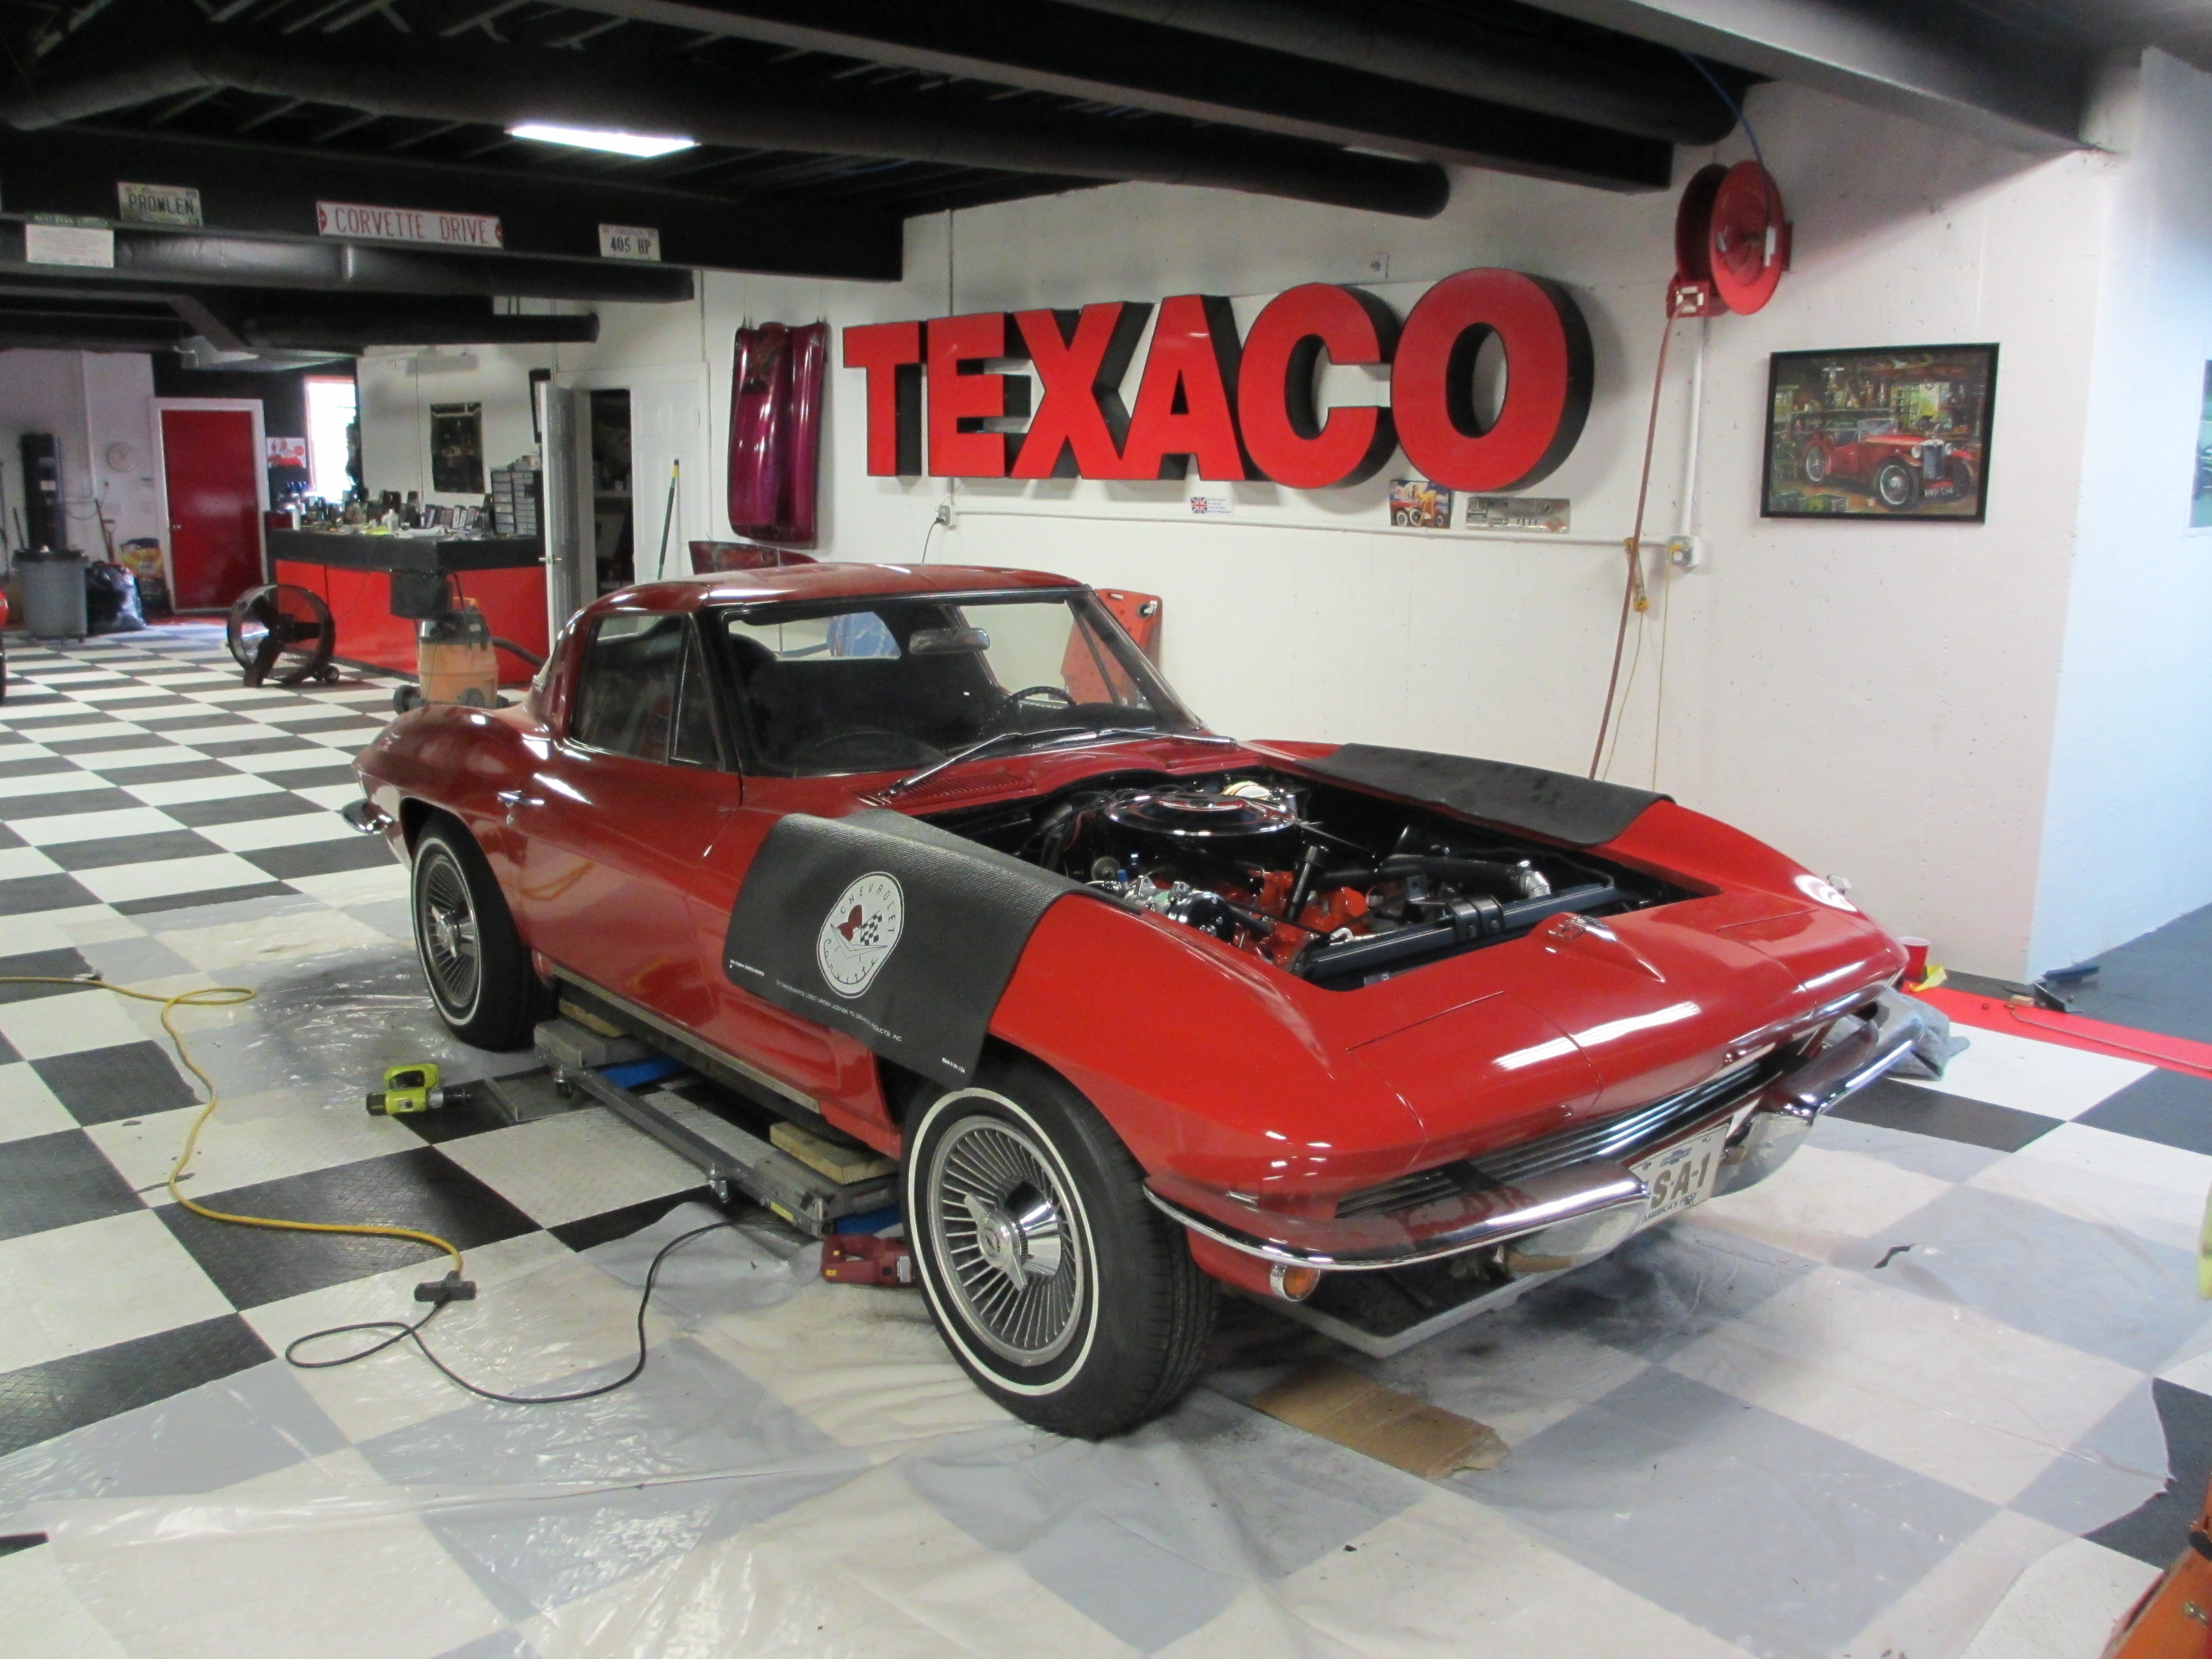
We made some more progress this week The engine bay is mostly complete, got the master booster and brake cylinder installed, the air cleaner painted and we got a large portion of the A/C installed.
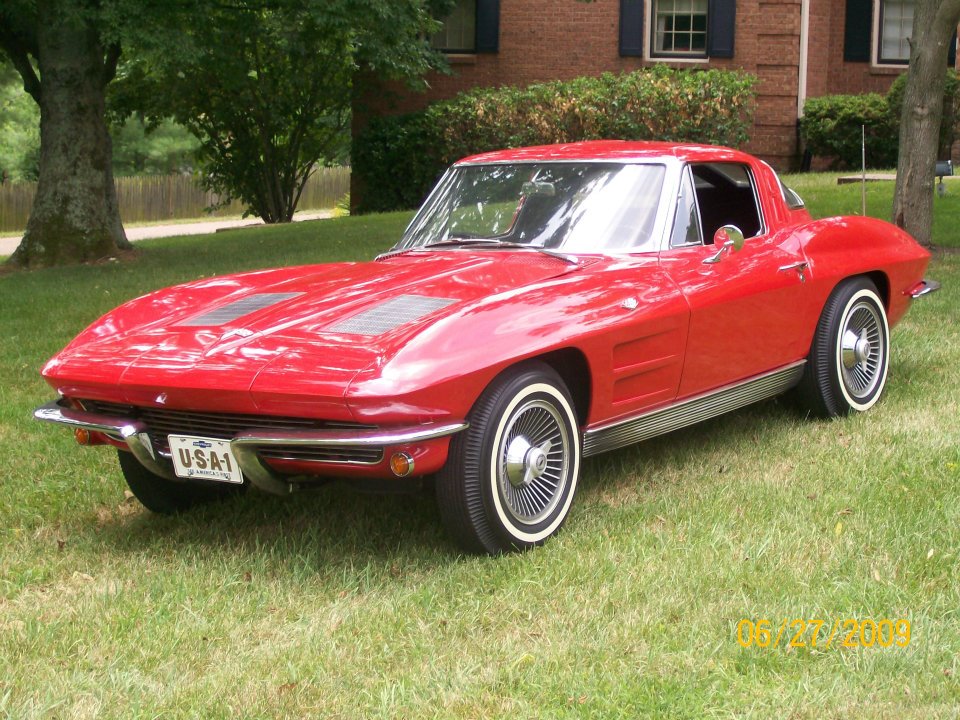
We also got the new tires with a slightly smaller white wall mounted and the finish on the rim edges have been restored.
In the last picture you will see I repainted the center of the dash and the speaker grill.


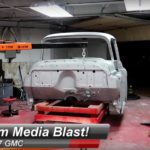
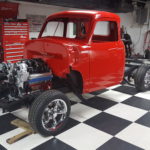
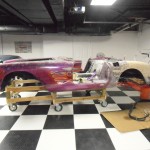
Project 63 Engine Bay Refresh
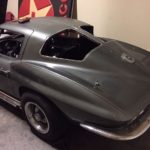
I am making progress on the engine bay refresh. It is getting close to the point I can start putting things back together 🙂 Don’t mind the modern 350 valve covers, those are temporary to keep the dirt out while I refinish the originals.
Before!

And Now!
[nggallery id=77]
Project 63 – 4/21 Progress
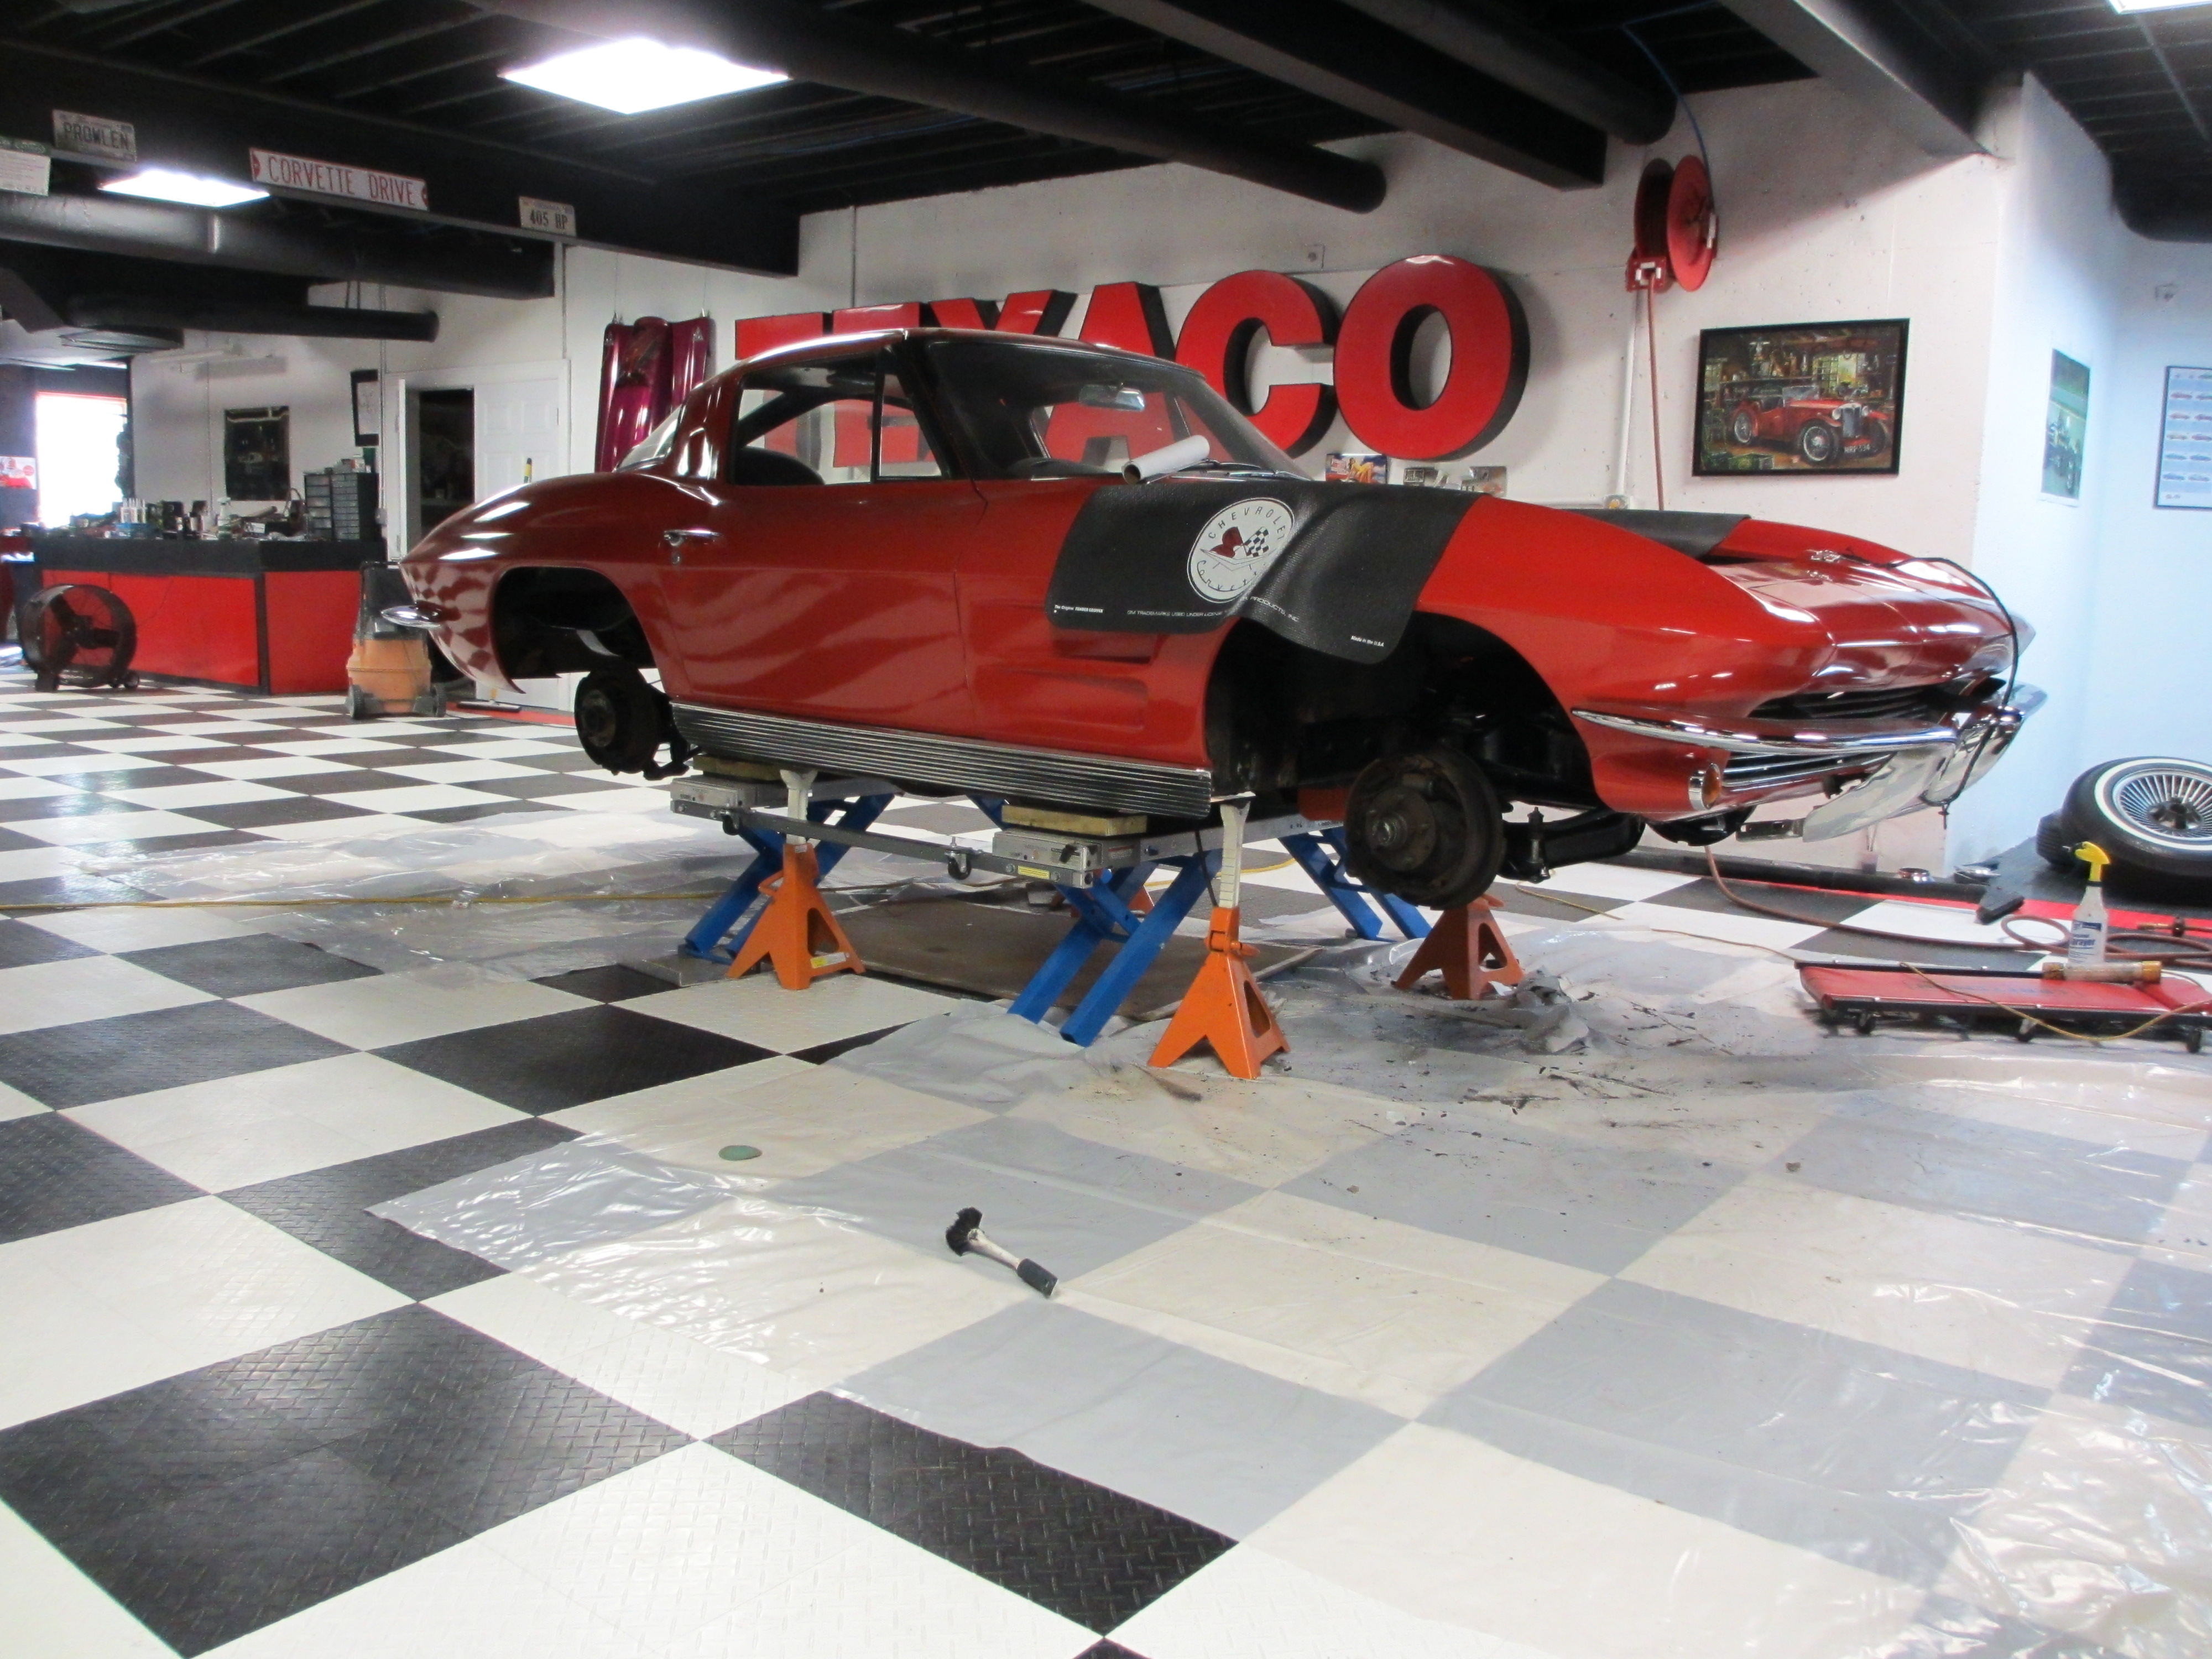
We made some progress this week on Project 63. I was able to get the new rear pinion seal installed along with a new front diff mount, new U-Joints, rear transmission seal and a freshly painted drive shaft.
Once I got all of that installed I was able to graft in the new floor section and reconstruct some of the missing tunnel section. I still need to do some sanding, shaping and finishing to that repair.
I also scraped 35 years of grease from much of the suspension and I treated it with POR 15 and will top coat that with a semi flat back.
I removed the brake master to paint the firewall so I decided to do a rebuild on the master just to find it had bad scoring so I sent the master off to be re-sleeved. I also have a new power brake booster to install.
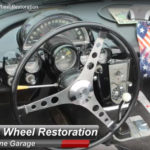
I remove the steering column to do the firewall repaint and to replace the shaft bearings to find the bearings were so far gone the shaft was grooved, now a new shaft is on order but the column and attachments have been blasted and repainted.
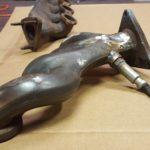
I also decided to replace the exhaust so I cut out the old system which made room for me to scrape and paint much of the underside.
Lots of new parts arrive this week including the new A/C so now I have to finish repainting the engine and engine bay so I can get started on the putting stuff back together part of the plan 🙂


[nggallery id=79]
Project 63 Vintage Air Arrived Today
The UPS guy just dropped off some gifts, the Vintage Air Arrived for Project 63.
[nggallery id=78]

Project 63 week 3 – Tunnel Repair
Well I am now in week 3 of Project 63 and there has been a lot going on. I started prepping for the Vintage Air install and while removing the old heater system I started to pull back the carpet to find it was pretty well dry rotted so I removed the old carpet. Once I removed the carpet I uncovered a very poor tunnel and rear diff fiberglass repair. I cut out the old areas and I ordered a replacement section and tonight I was able to get the first layer of new glass grafted into the new area .
While I had the top side of the tunnel apart I went ahead and changed out the rear pinion and transmission pinion seals and installed new U-Joints. I also de-greased and painted as much of the chassis that I could see from the top side and I installed a new front diff rubber mount.


[nggallery id=76]


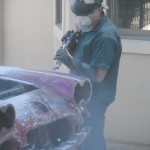
Initial Engine Start Up
Here are a couple of clips of the initial engine start up.
1st Attempt to Start Disaster, starter stuck engaged 🙂
2nd Attempt at Engine Start Up