
Category Archives: How To
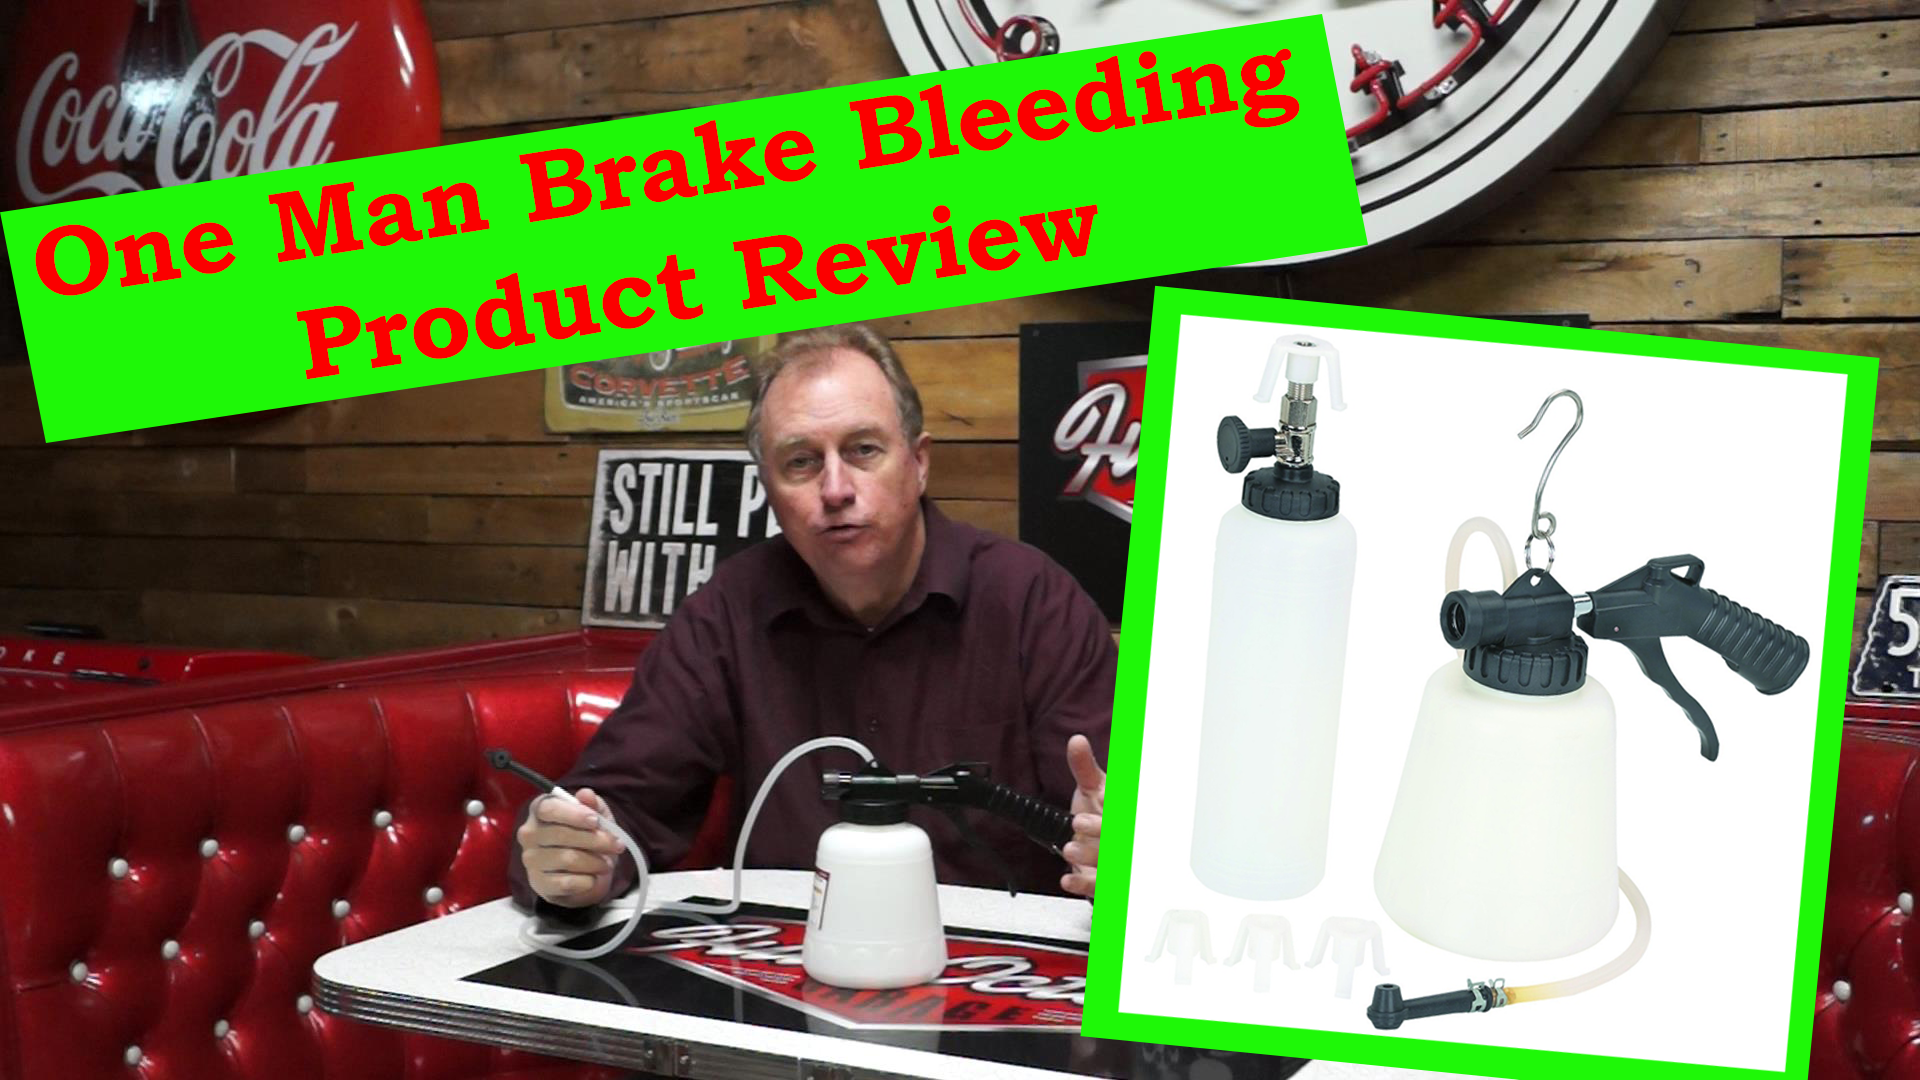
Harbor Freight One Man Brake Bleeder Product Review
This is a review of a one man pneumatic brake bleeder from Harbor Freight. The results are surprising!
We found a very similar unit on Amazon and if you use the link below to support our channel you will get FREE SHIPPING!
https://amzn.to/2J7wh3P
Harbor freight Pittsburgh® Automotive – Item#92924
https://www.harborfreight.com/brake-fluid-bleeder-92924.html
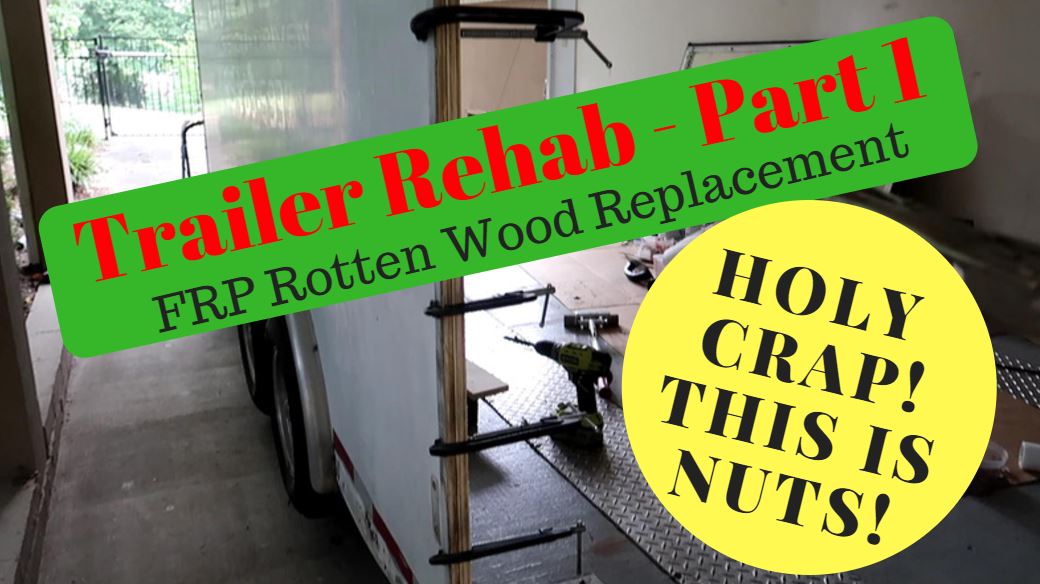
Trailer Rehab – FRP Trailer Wall Repair/Replacement – Part 1
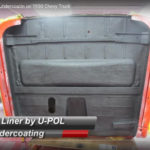
We created this video as a trailer rehab project on what needs to be done and can be done to an older enclosed trailer. This also has a focus on trailers with Fiberglass Reinforced Panels (FRP) where repair or panel replacement is required.
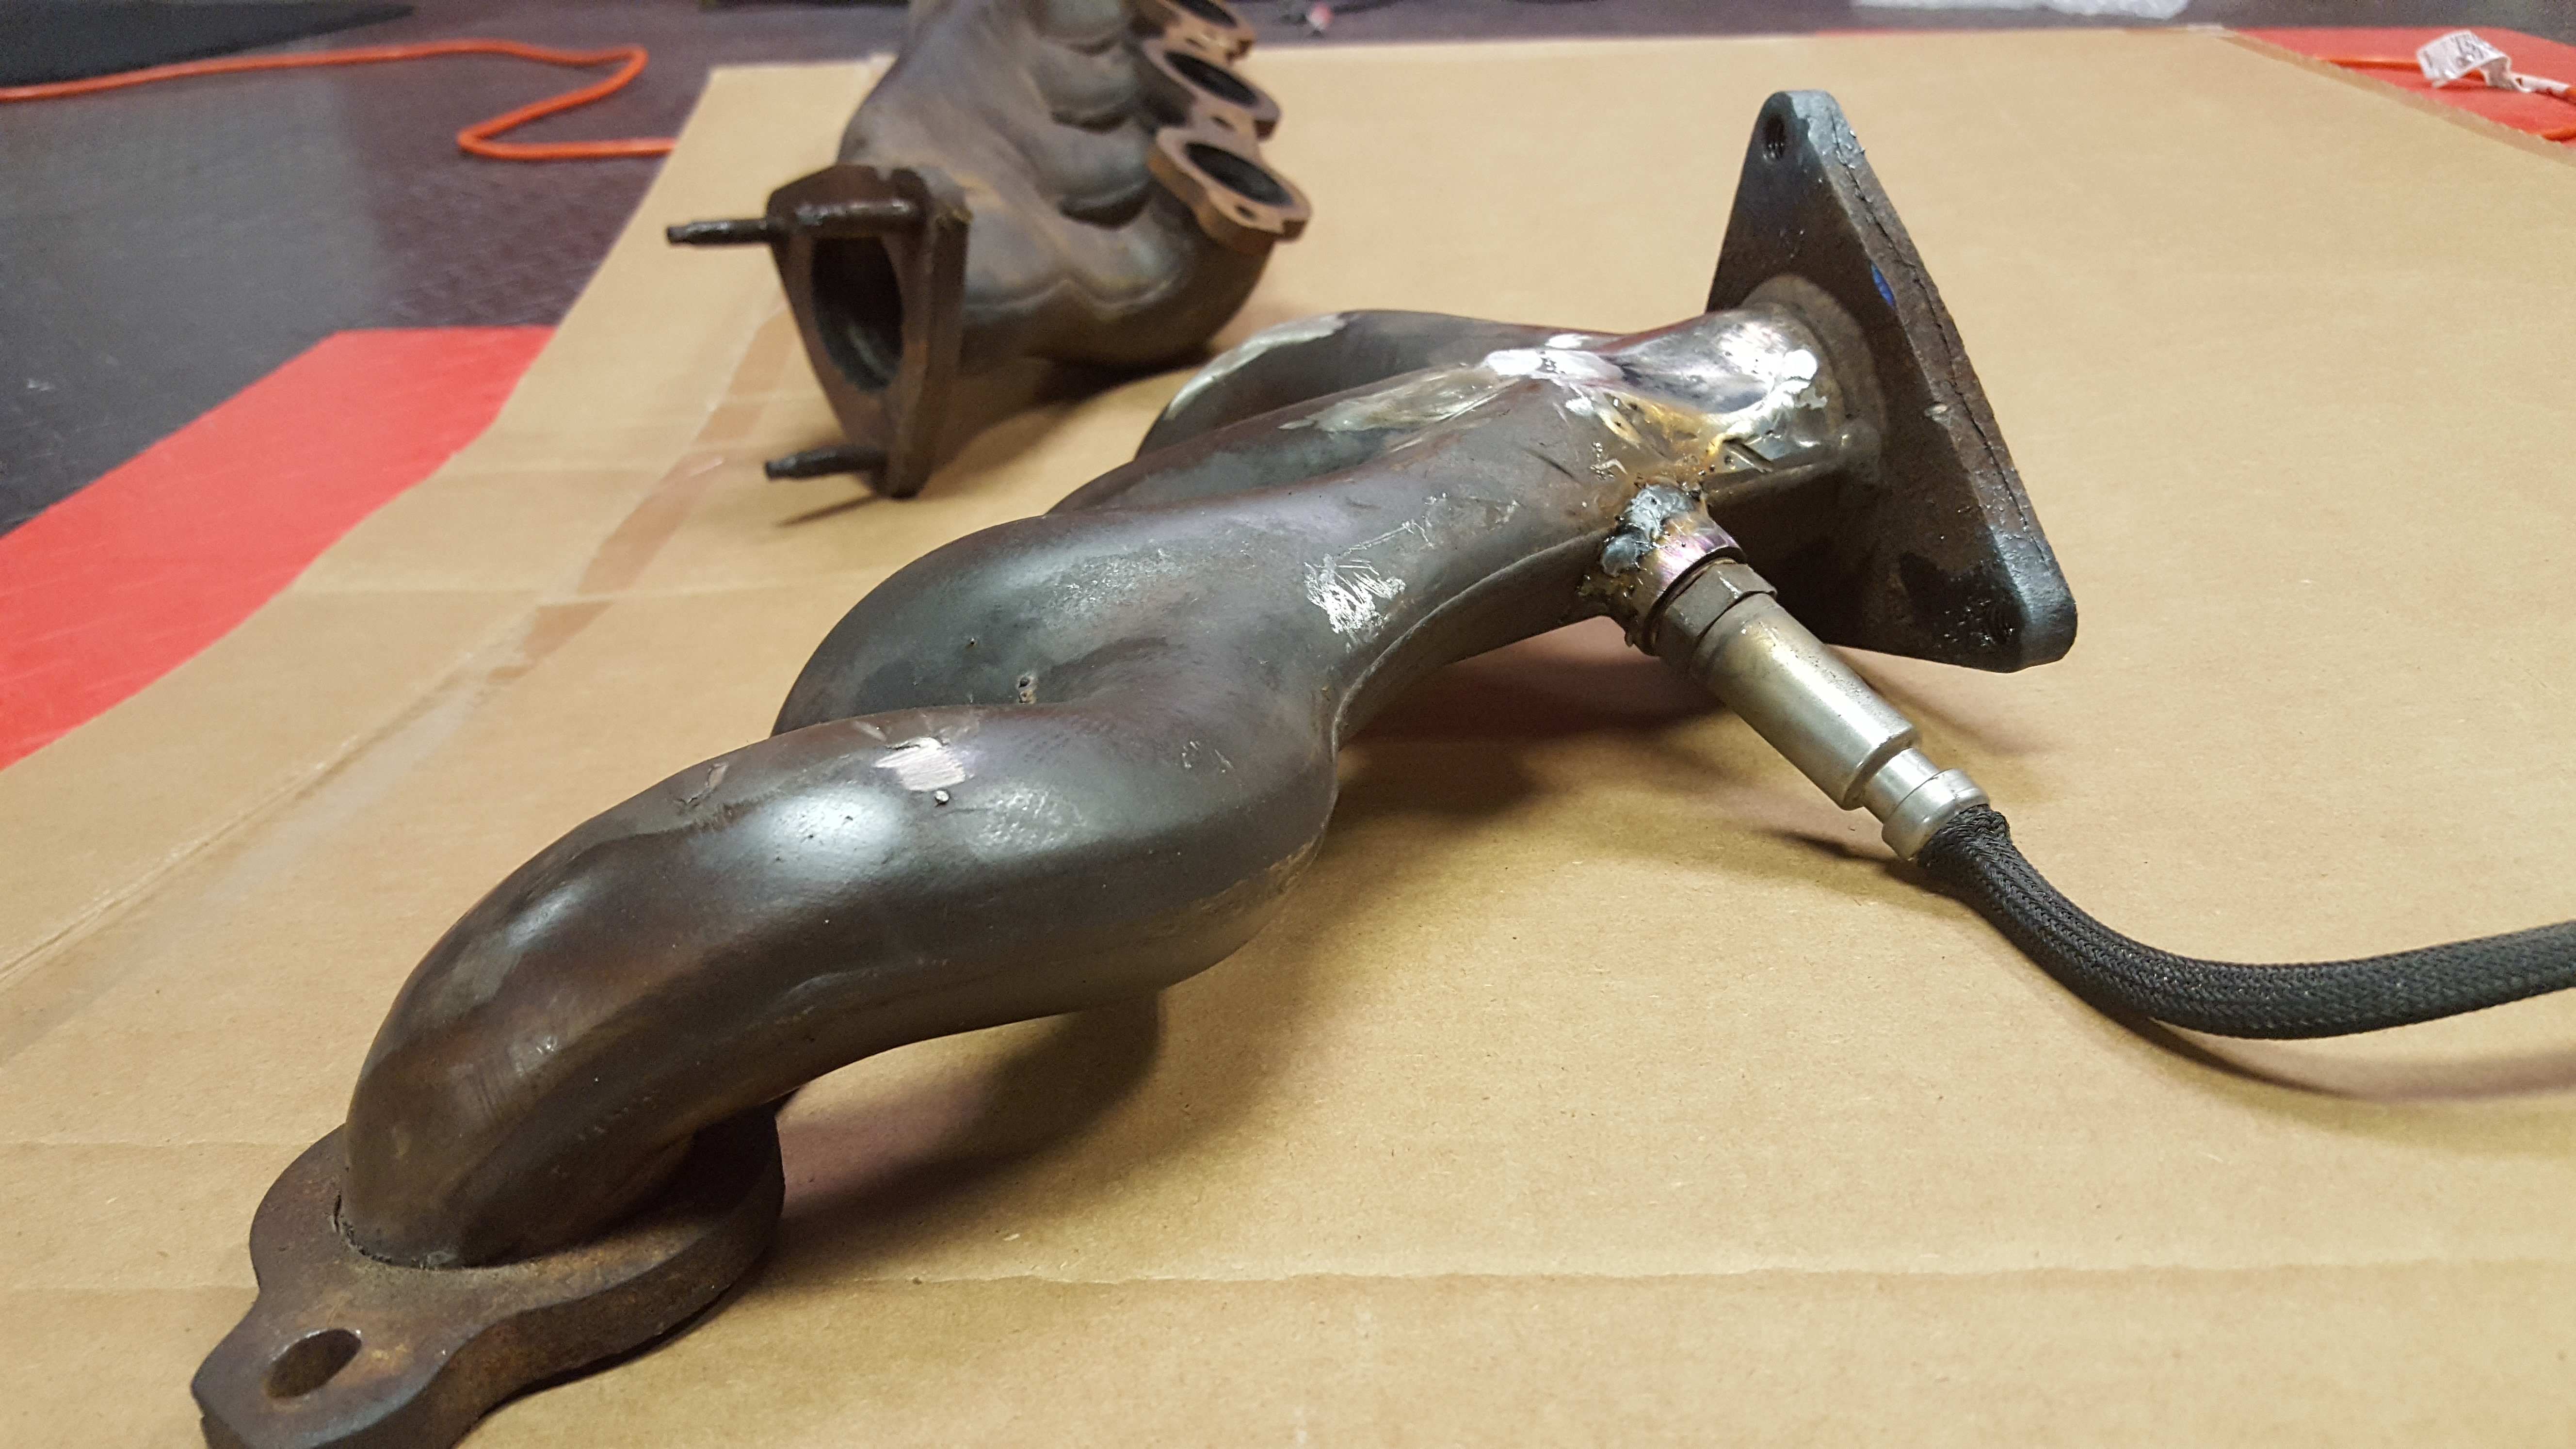
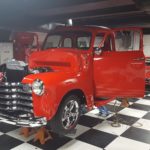
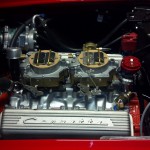
1950 Chevy Truck F-Body Manifold Modification For LS
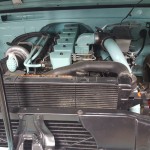
It was time to start thinking about the exhaust manifold for the LS 5.3 we dropped into our 1950 Chevy Truck project. The frame is very narrow and we were determined to have a 2 joint steering column. The stock cast iron 5.3 truck manifolds did not come close to working so we borrowed a friends rear drop block hugger headers and those also did not work.
We had stock set of F-Body Firebird manifolds which were steel instead of cast so we tried to fit them in and the passenger side was fine and the drivers side was very close but the O2 sensor and bung were hitting the steering shaft. I figured if I could cut out the O2 bung and weld in a replacement section with a slight indentation it should clear fine. We did just that and we also moved the O2 bung more towards the front and inside of the engine and it clears great now.
While we were welding we cut off all of the emissions provisions and welded plugs in so it looks like they were never there.
Here is the scoop on the drivers side. As you an see when it had the shield and O2 bung in place the single steering rod would not clear.

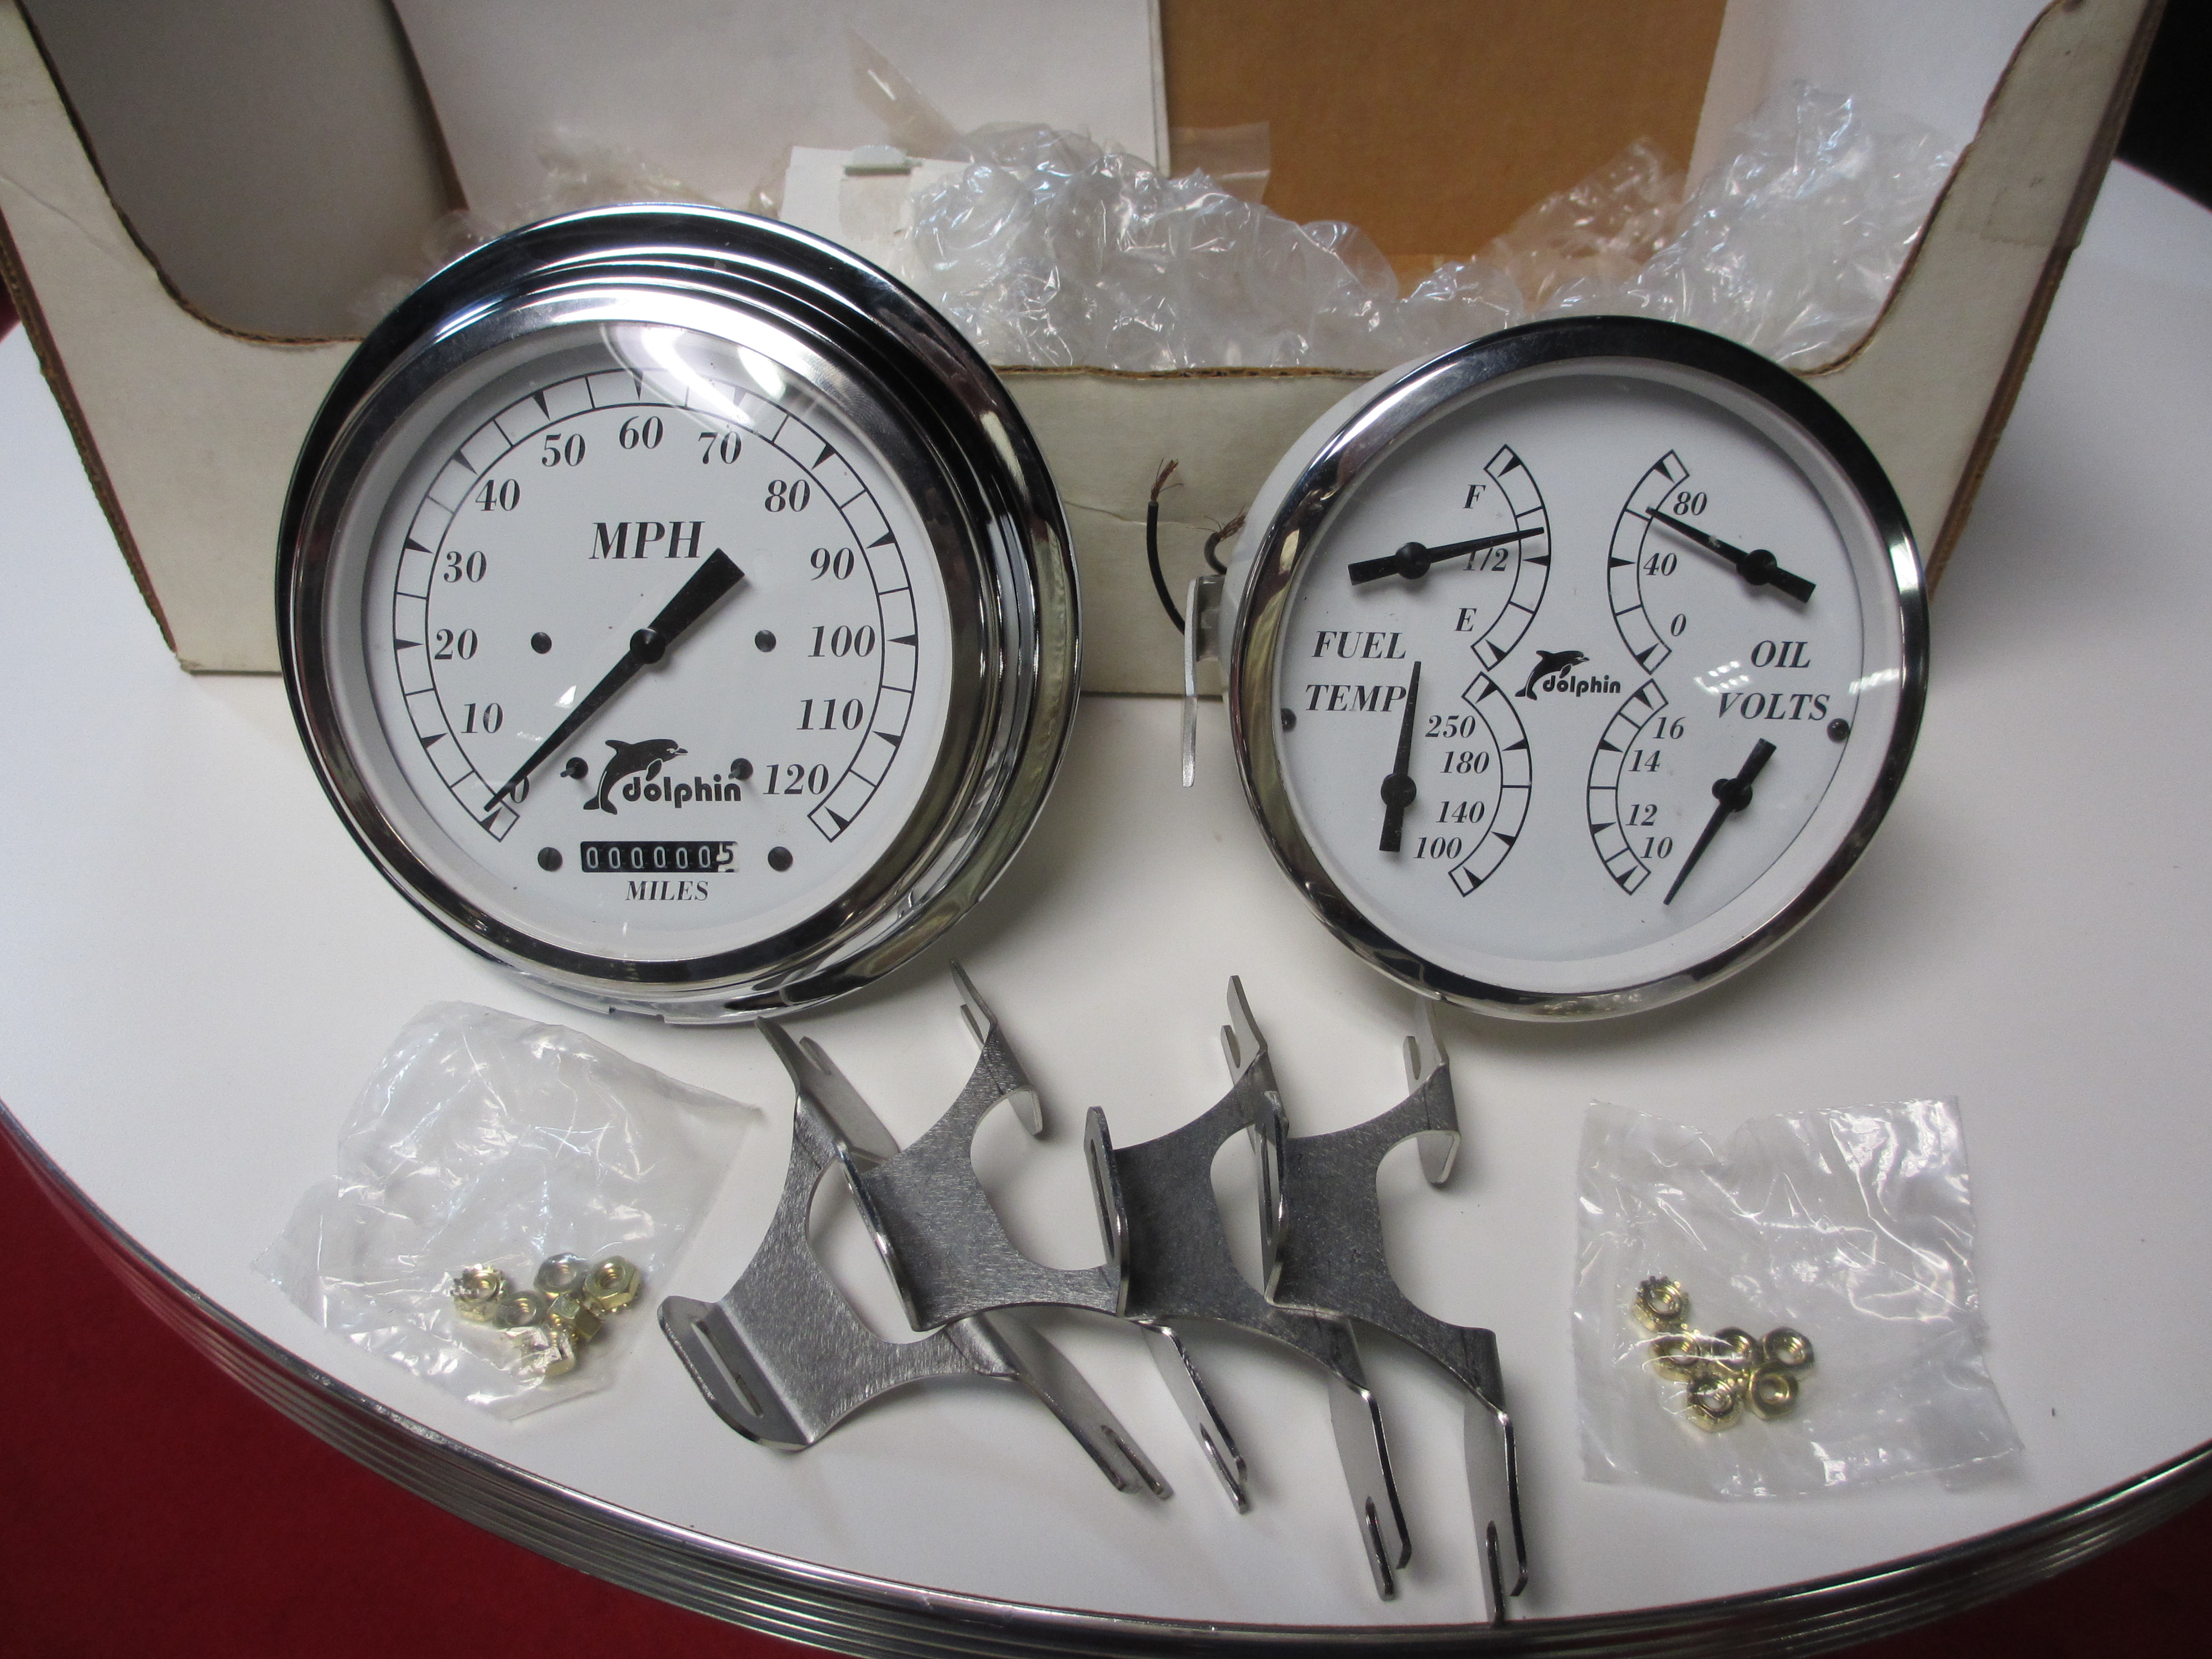
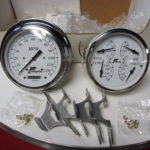
Retrofit Modern Gauges in 1950 Chevy Truck
We decided to Retrofit Modern Gauges in our 1950 Chevy Truck project but it turned out to be a bit more complicated that we had anticipated. The Dolphin gauges use a 5 inch so when we went to install them in the truck dashboard they went right through the hole. At that point we posted some questions on the forums and a few owners suggested a new bezel and mount kit from Classic Instruments.
We ordered the parts and the Dolphin gauges fit perfectly and the new bezel fits the dash nicely. The mounting kit, not so much. We had to do some bending to make the mounting brackets match up to the studs that stick out of the dash but they are thin metal which is fairly easy to bend.
Bottom line is the Classic Instruments kit will work with the Dolphin Gauge set.
The parts required can be found on the Classic Instruments web site.
47-53 Chevy Truck Bezel- Available is all series part#BZ4753 (Note you will need to order TWO of these even though they are pictured in a pair) Ask me how I learned this 🙂
47-53 GM Pickup Mounting Kit part #MTBRGMK (One kit for 2 holes)
This picture shows the adapter ring installed on the left gauge.

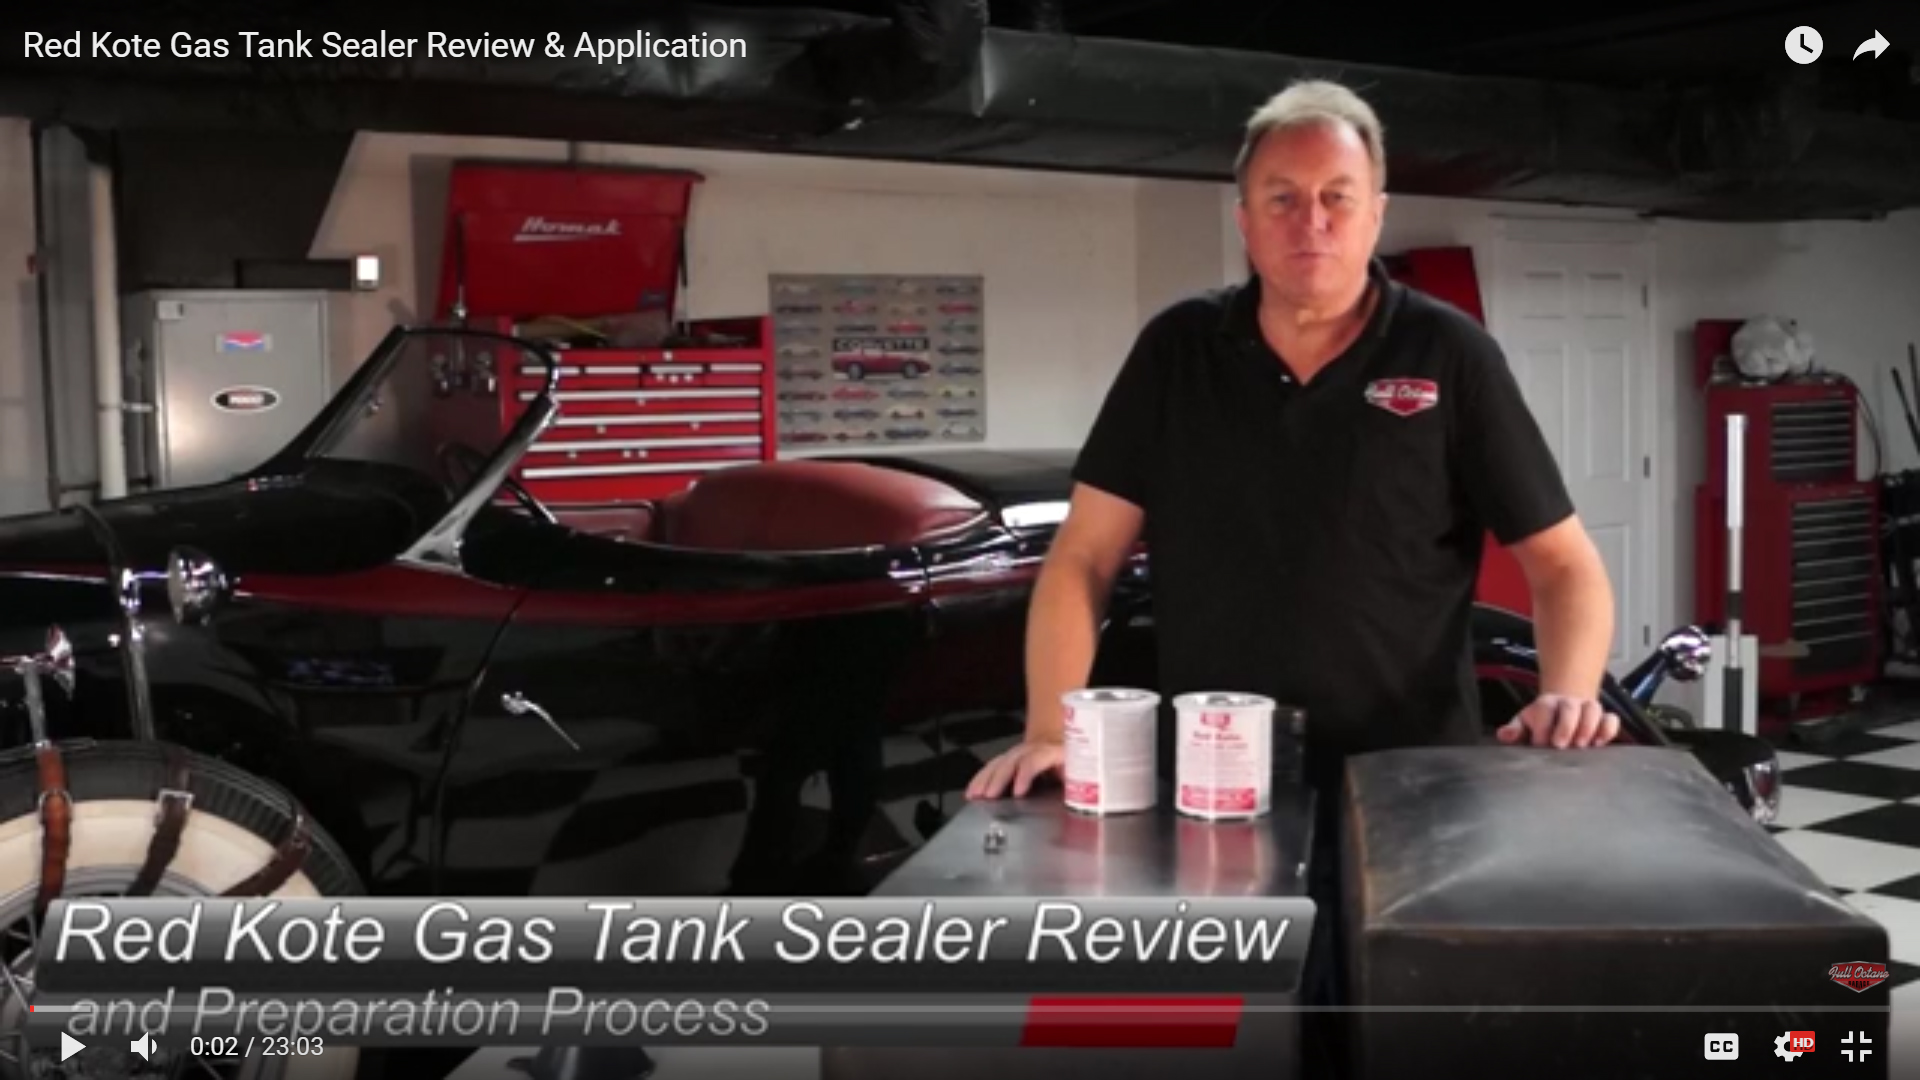
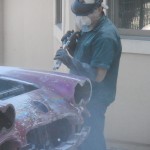
Gas Tank Leak? Red Kote Gas Tank Sealer Review & Application
We shot a fairly detailed video of building a new fuel tank and showing a Red Kote Fuel Tank Sealer Review & Application process.
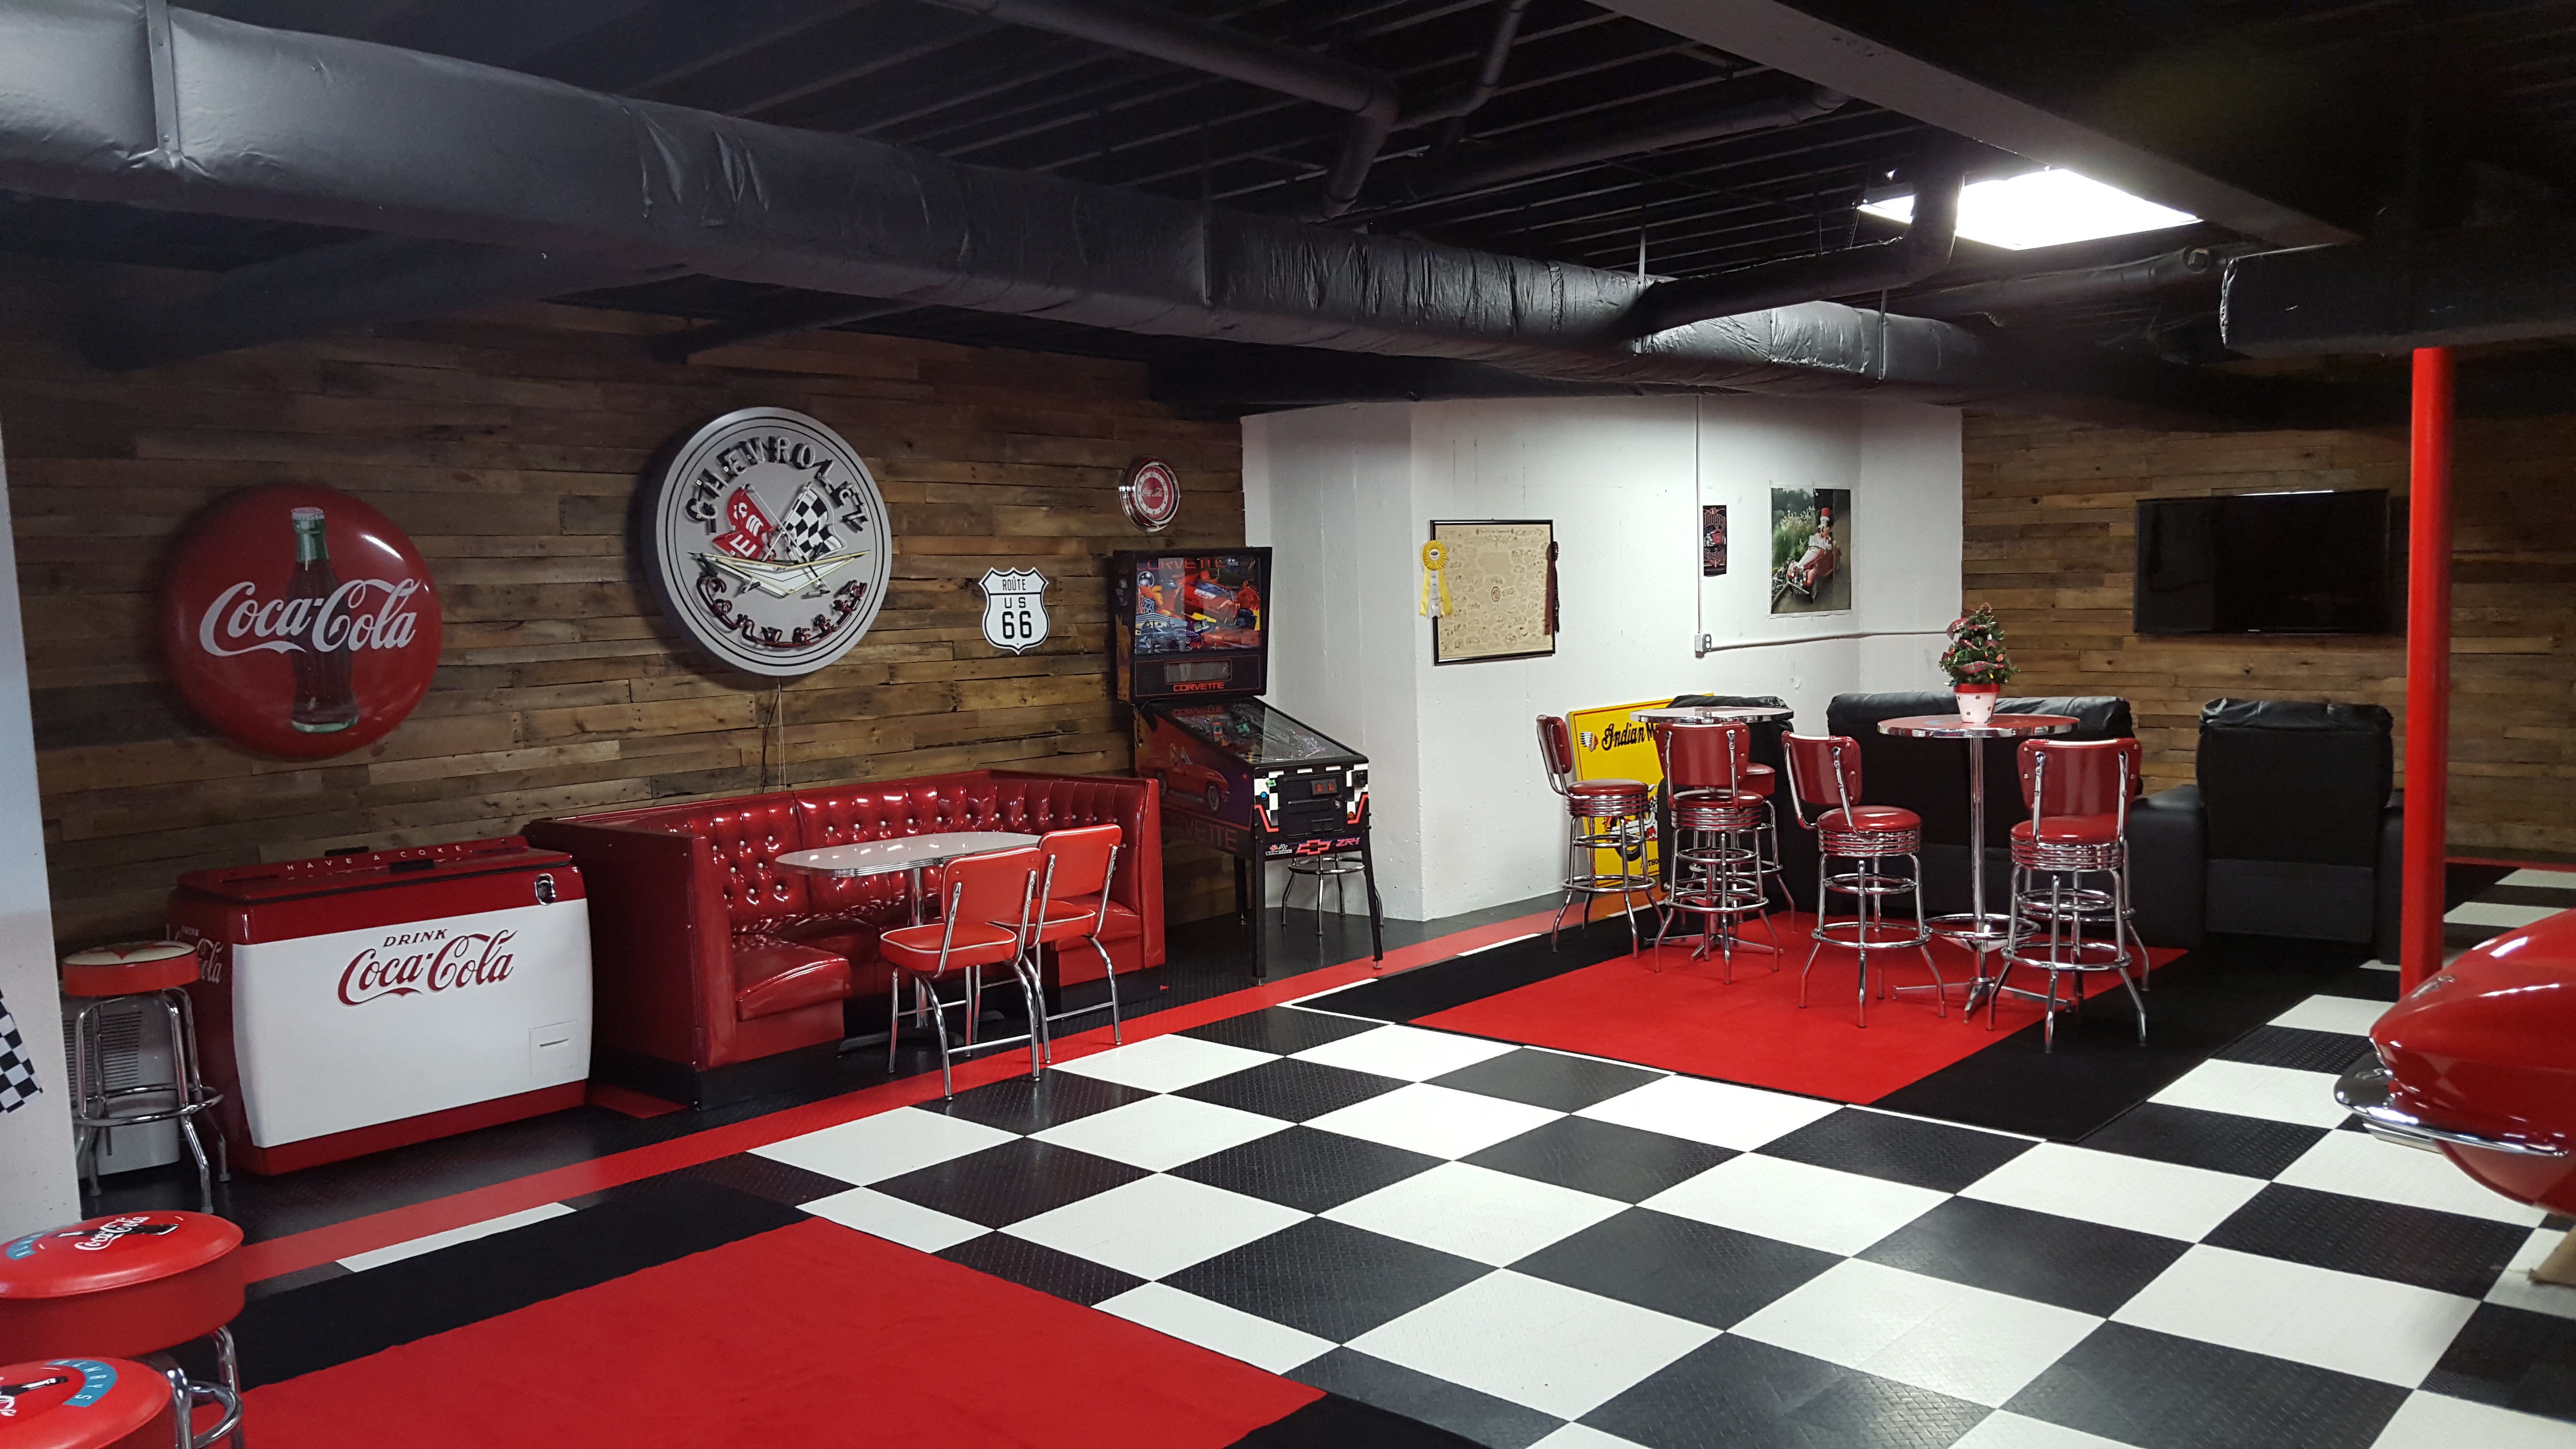
The Making Of A Pallet Wood Wall In The Full Octane Garage
This is a little bit of information on Garage decorating and the creation of cool accent walls using old pallet wood. This is a project we started in our basement garage to spruce up the walls with a reclaimed wood wall feel on the cheap.
We started the process by installing 2×4 nailer studs to the concrete walls. We then installed 3/8 inch particle board by nailing the 4×8 sheets to the recently installed studs. Next you have 2 options, you can paint the backer board black or take the easier path which we did. We stapled the thinnest roofing felt we could find to the particle board. This is so no gaps in the boards show through.
For the final surface we started with FREE wood pallets, pressure washed them then sprayed a mix of 1 part special walnut stain to 3 parts lacquer thinner. We then laid the wood out by board width and found enough board in the same width to make a complete run across the wall staggering the start points for a random look.
We also used some accent surfaces such as realistic looking brick wall paper glues to 1.2 inch foam insulation boards and corrugated colored metal as a wainscot trimmed out in 1×4 stained pine.
Here are some items we used:
- MinWax Special Dark Walnut stain
- Lacquer Thinner
- Brad Nailer
- Used Pallets
- 2X4’s
- 4×8 sheets of 3/8’s particle board
- Roofing Felt
- Surface Illusions Brown Brick Wallpaper (www.lelandswallpaper.com)
- 1/2 Foam Board to install wall paper over
- Corrugated colored metal (www.blacksmetals.com)

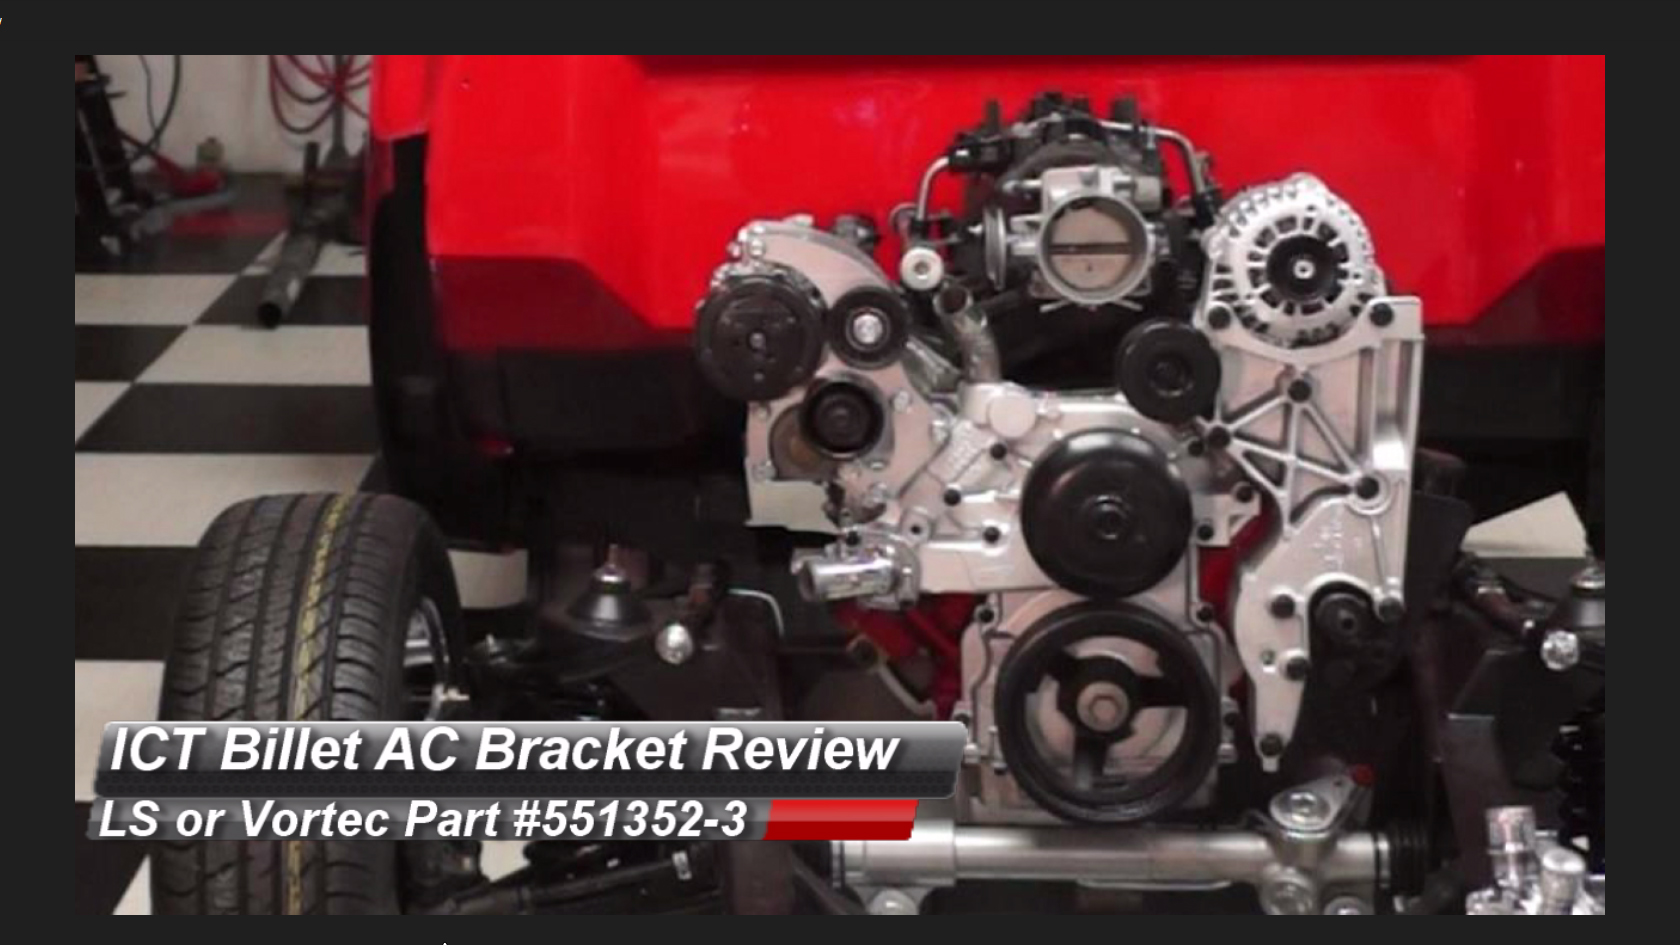
ICT Billet High Mount Narrow Bay AC Bracket Review (LS1/LS2/LS3 or Vortec 5.3) Part #551352-3
We had bought an ICT Billet A/C Bracket part# 551494-3 and installed iton a 5.3 Vortec LS engine but unfortunately I did not measure where my inner fender wells would line up and when I went to install them the 508 style compressor hits.
A quick call into ICT Billet and I found option number two, a part number 551352-3 which seems to have better clearance but they only issue is I now need to use a mini style Sanden 7176 compressor.
The good news is ICT Billet is willing to help us out on a return based on my application error 🙂
Here are a few video’s of my results.

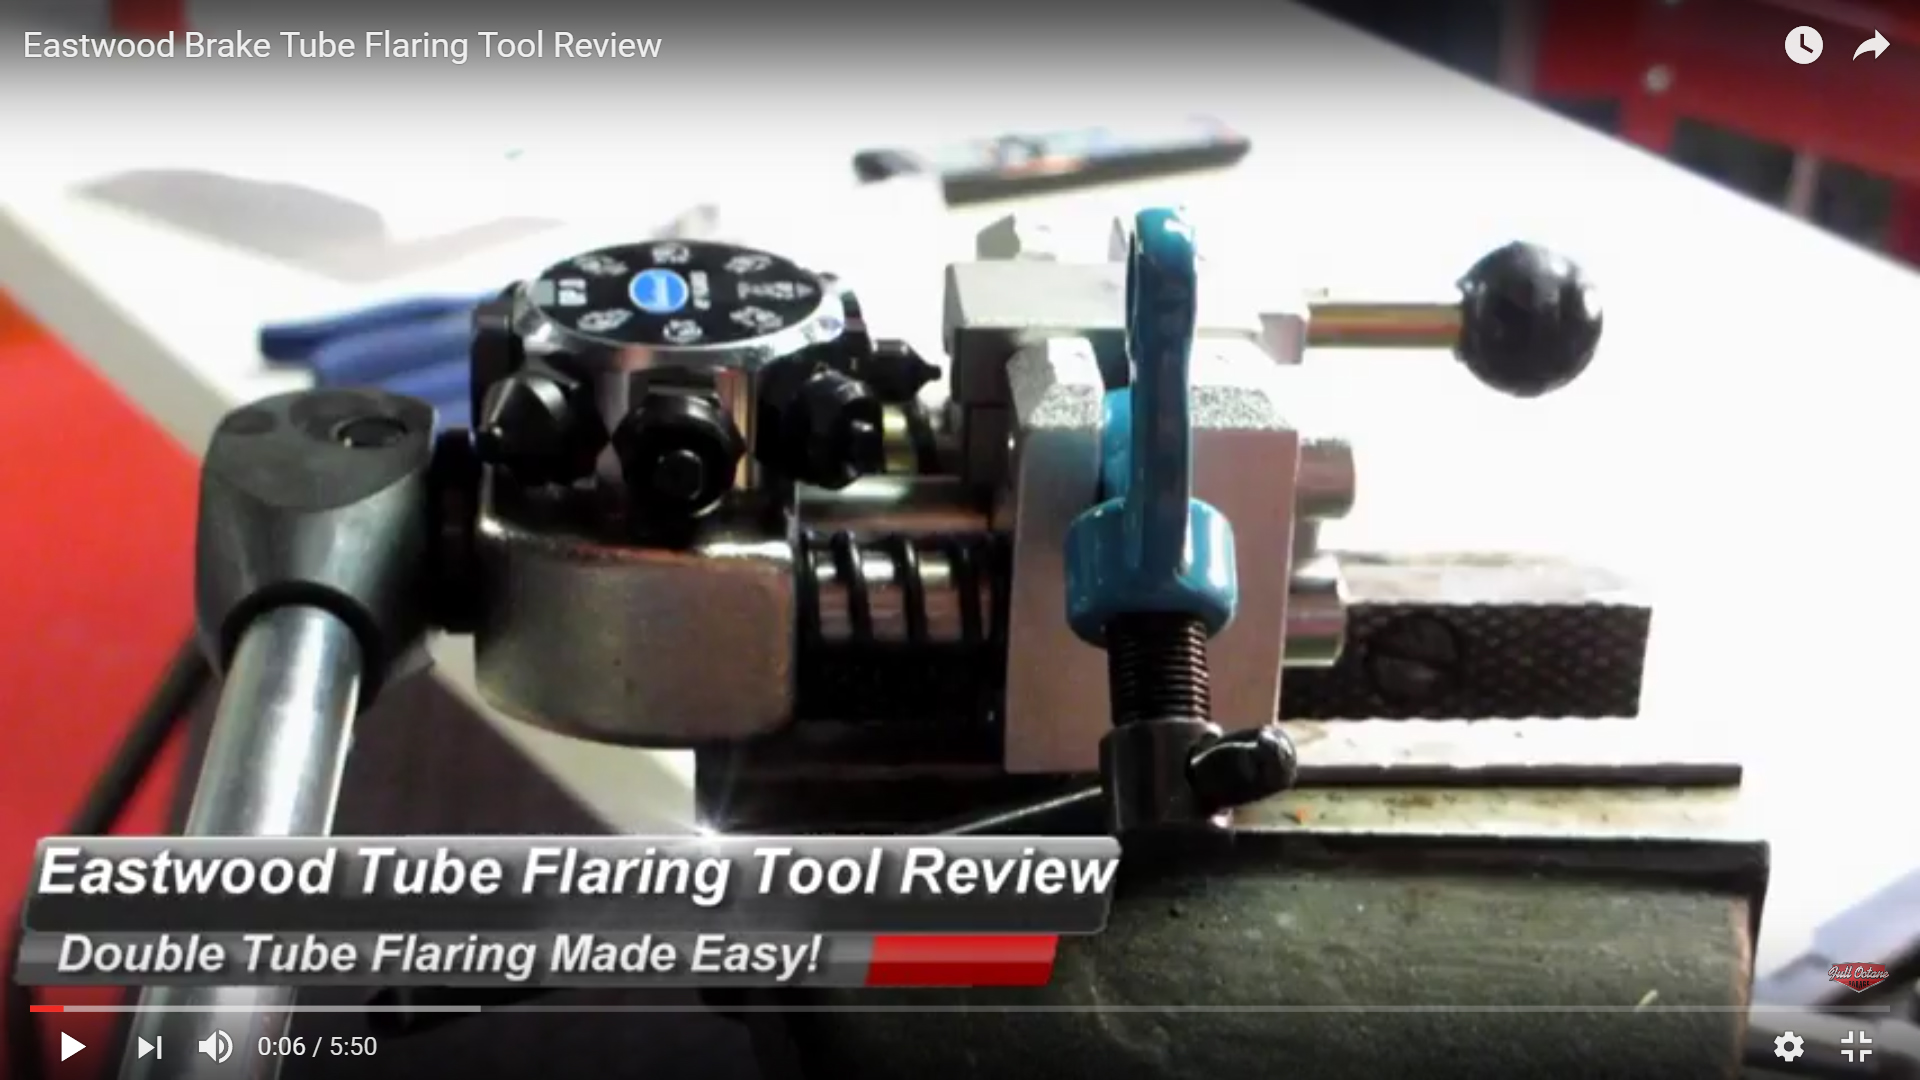
Eastwood Brake Tube Flaring Tool Review (Item #25304)
This is a non-sponsored review of the Eastwood Brake Tube Flaring Tool (Item #25304). This is the firs time we used the tool and it is worth every penny of the $189.99 price tag. This is a great tool for the DIY home mechanic or professional. Easy to use and almost fool proof.
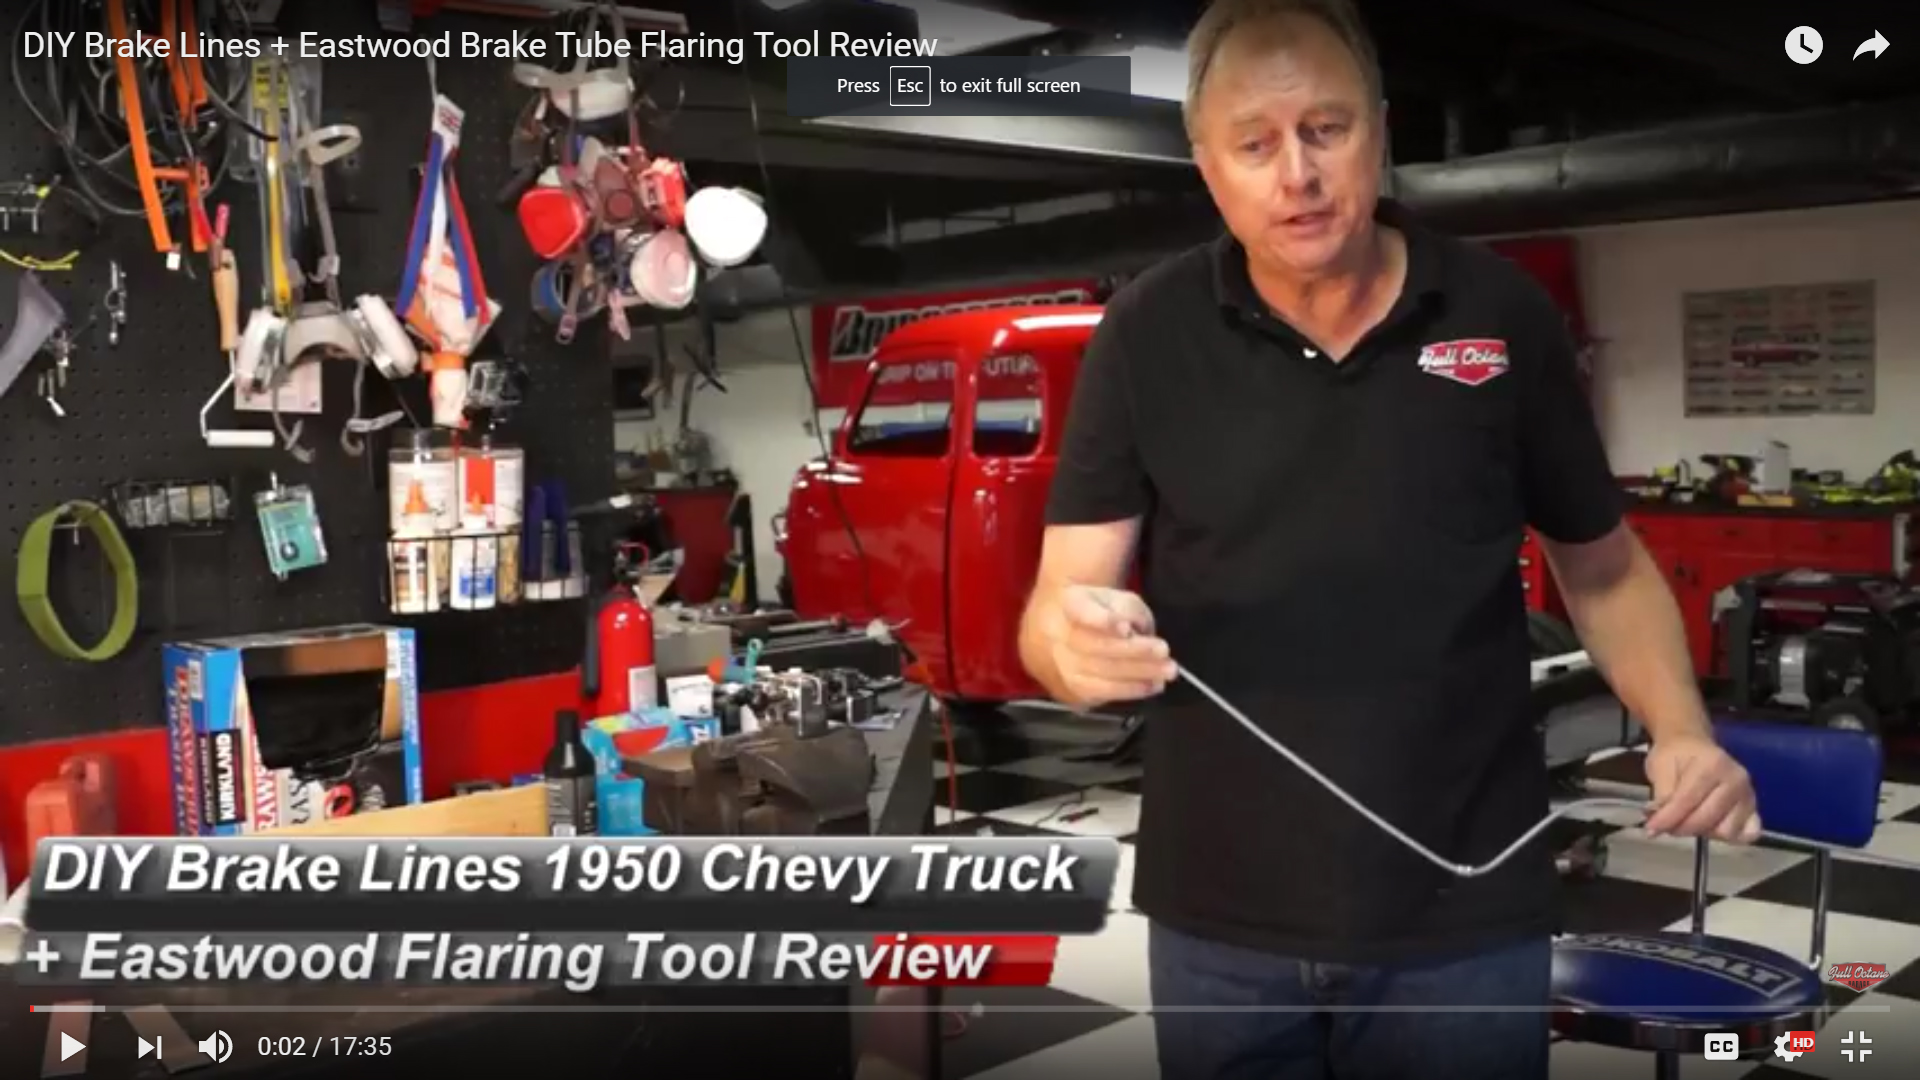
DIY Brake Lines Made Easy plus a REVIEW of the Eastwood Brake Tube Flaring Tool
DIY Brake Lines using the Jegs UNIVERSAL BRAKE LINE KIT Item 555-63095 and the Jegs PROPORTIONING VALVE 555-63022. We used the Eastwood Brake Tube Flaring Tool (Item #25304) for the first time and have a detailed review.
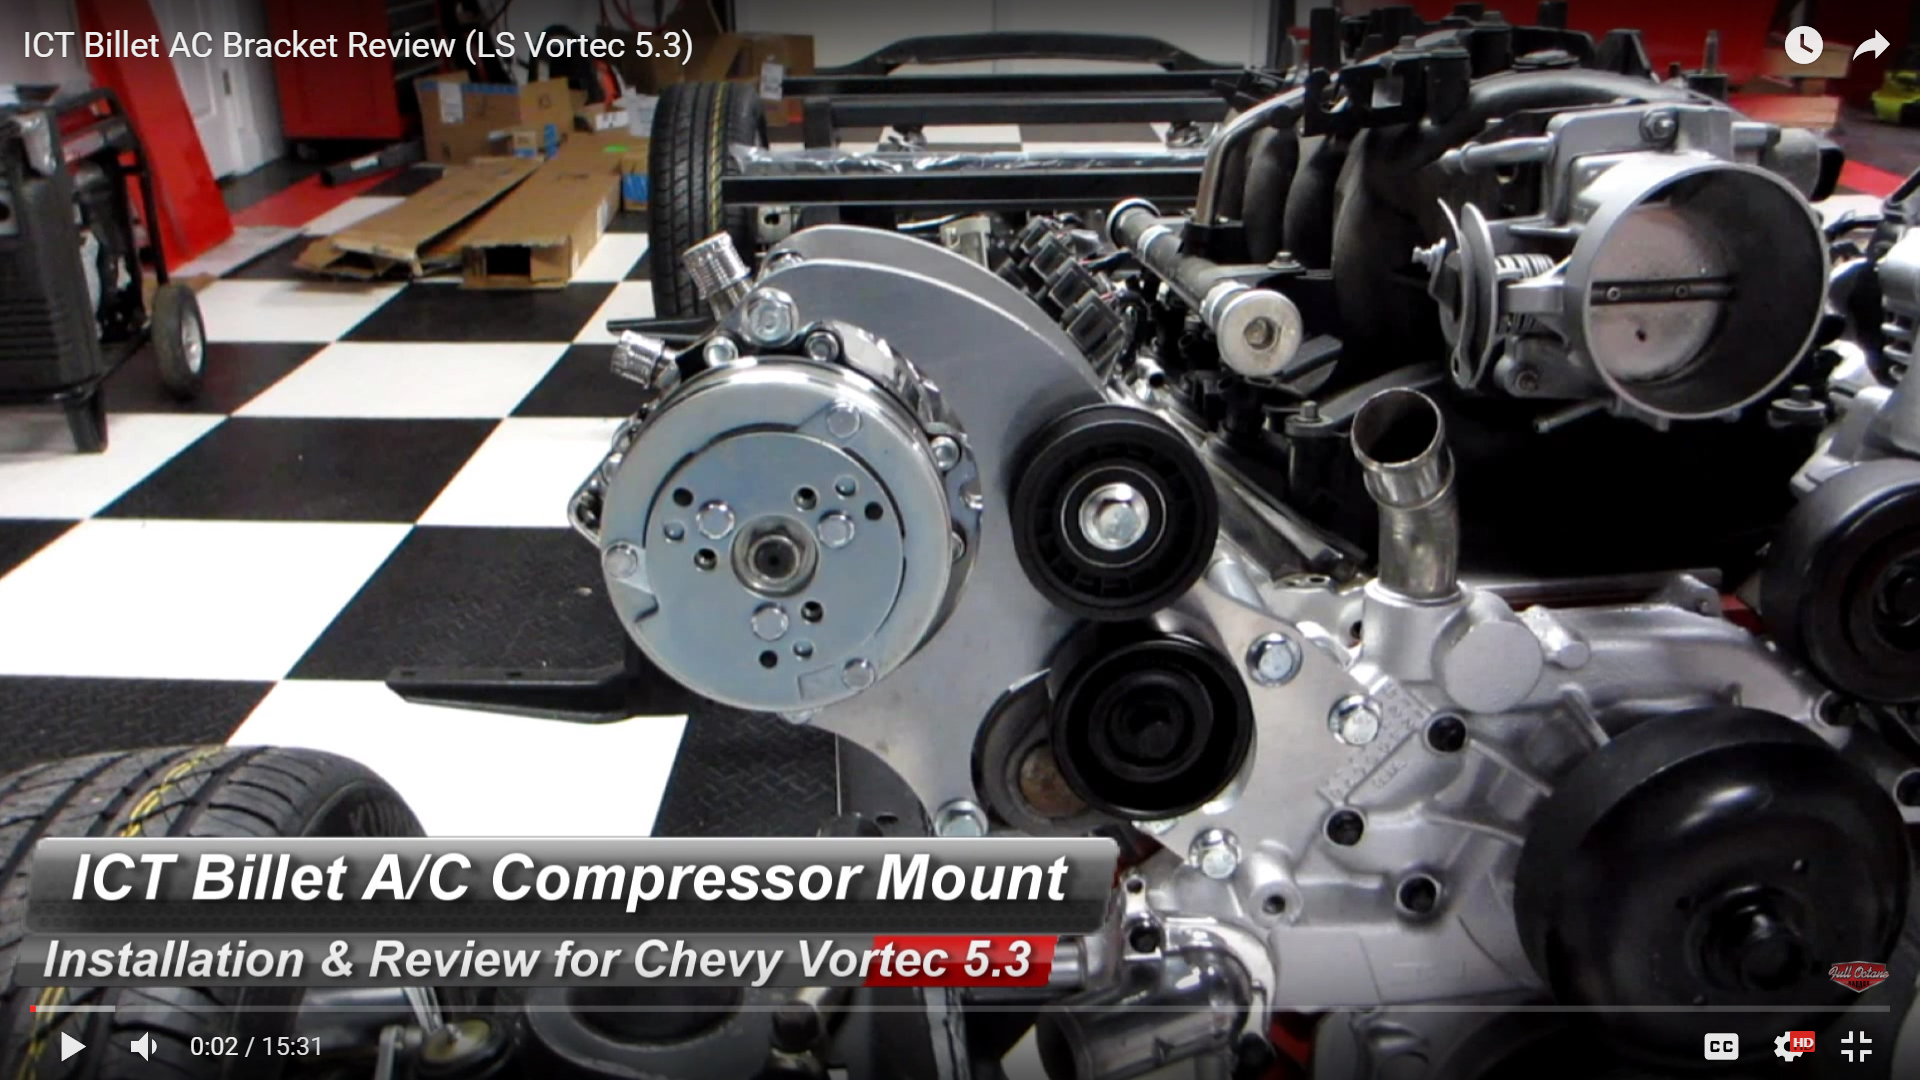
ICT Billet A/C Bracket Install & Review 551494-3
We bought an ICT Billet A/C Bracket part# 551494-3 and installed iton a 5.3 Vortec LS engine.
The kit was great but unfortunately I did not measure where my inner fender wells would line up and when I went to install them the 508 style compressor hits.
A quick call into ICT Billet and I found option number two, a part number 551352-3 which seems to have better clearance but they only issue is I now need to use a mini style Sanden 7176 compressor.
The good news is ICT Billet is willing to help us out on a return based on my application error 🙂


